


Permanent paths in intensively-gardened space
ralleia
12 years ago
Related Stories
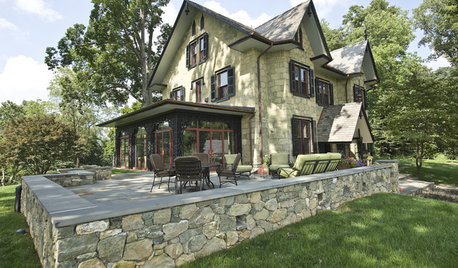
LANDSCAPE DESIGNGarden Walls: Mortared Stone Adds Structure, Style and Permanence
Learn the pros and cons of using wet-laid stone walls in your landscape
Full Story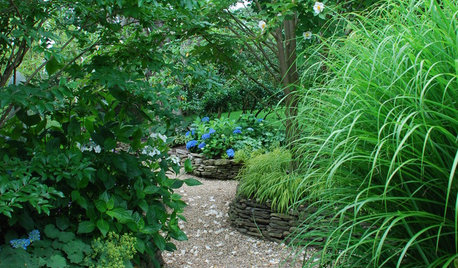
LANDSCAPE DESIGN15 Ideas for a Stunning Garden Path
Let your imagination roam as you consider the many types of walkways possible in your garden
Full Story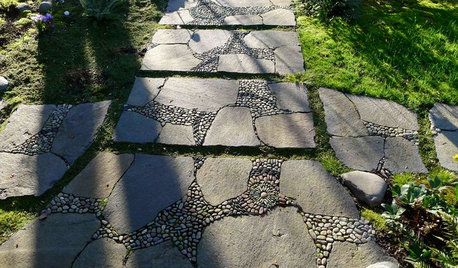
LANDSCAPE DESIGNHow to Design Garden Paths That Bring a Landscape to Life
We guide you through material and placement choices that will take your pathways from ordinary to extraordinary
Full Story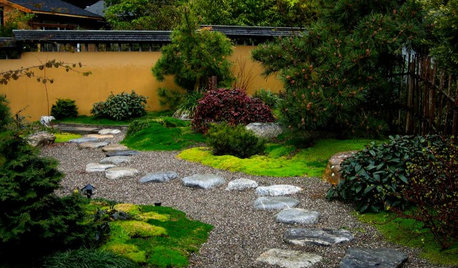
LANDSCAPE DESIGNPerspective Tricks to Make Your Garden Appear Larger
Simple tricks used by artists can be employed in garden design to alter perceptions of space
Full Story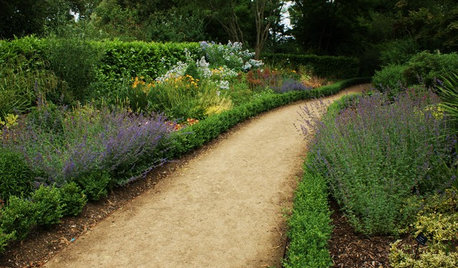
LANDSCAPE DESIGN5 Gravel and Stone Types for a Rockin' Landscape
Give your garden design some textural bam with pebbles, granite, river rocks and other permeable materials
Full Story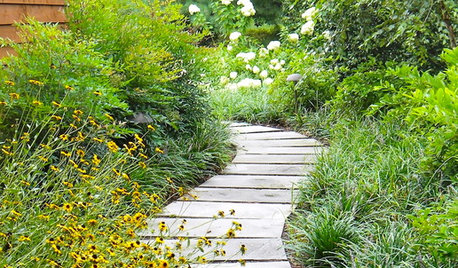
LANDSCAPE DESIGN7 Ways to Design a Garden That Flows and Intrigues
Transform a staccato yard into a smooth and relaxing delight by mastering the art of garden transitions
Full Story
GARDENING AND LANDSCAPINGEasy Herbs for Every Space
Resilient and forgiving, herbs like mint, thyme and rosemary are simple to grow and look great in both containers and landscape designs
Full Story
PLANTING IDEASGreat Garden Combo: Rose + Clematis for Small-Space Impact
We all need somebody to lean on. And when a rose supports a climbing vine, the results can totally transform a small garden
Full Story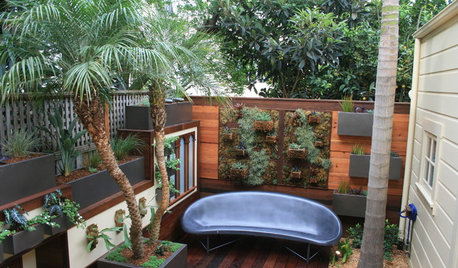
GARDENING AND LANDSCAPINGRoom of the Day: An Outdoor Space for Living and Playing
This small San Francisco backyard is packed with fun features
Full Story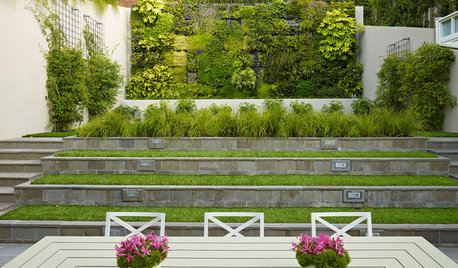
LANDSCAPE DESIGN11 Design Solutions for Sloping Backyards
Hit the garden slopes running with these bright ideas for terraces, zones, paths and more
Full Story
bi11me
ralleiaOriginal Author
Related Professionals
Stamford Landscape Contractors · Cockeysville Landscape Contractors · Fuquay-Varina Landscape Contractors · Gaithersburg Landscape Contractors · Huntington Landscape Contractors · South Hackensack Landscape Contractors · West Covina Landscape Contractors · Canton Decks, Patios & Outdoor Enclosures · Fort Myers Decks, Patios & Outdoor Enclosures · Liberty Decks, Patios & Outdoor Enclosures · North Aurora Decks, Patios & Outdoor Enclosures · Pueblo West Decks, Patios & Outdoor Enclosures · Urbana Decks, Patios & Outdoor Enclosures · West Bloomfield Township Decks, Patios & Outdoor Enclosures · Wheaton Decks, Patios & Outdoor Enclosuresbi11me
jimmieldavis
bi11me
ralleiaOriginal Author
gardenlen
bi11me
jolj
ralleiaOriginal Author
bi11me
nancyjane_gardener
ralleiaOriginal Author
bi11me
gardenmom
bi11me
ralleiaOriginal Author