


compost bin finally done
njitgrad
10 years ago
Sort by:Oldest
Comments (15)
Related Stories
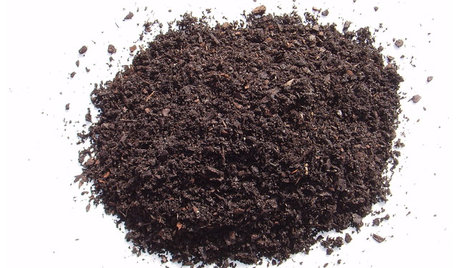
GARDENING GUIDESGet on a Composting Kick (Hello, Free Fertilizer!)
Quit shelling out for pricey substitutes that aren’t even as good. Here’s how to give your soil the best while lightening your trash load
Full Story
GARDENING GUIDESHouzz TV: Make a Worm Bin for Rich Soil and Happy Plants
A worm-powered compost bin that can fit under a sink turns food scraps into a powerful amendment for your garden. Here’s how to make one
Full Story
HOUSEKEEPINGGet It Done: Store Decorations and Tidy Up Postholidays
Move on to New Year's with a clear conscience, knowing you've recycled thoughtfully and packed carefully to make setup next year easy
Full Story
KITCHEN STORAGEGet It Done: How to Clean Out the Pantry
Crumbs, dust bunnies and old cocoa, beware — your pantry time is up
Full Story
DECLUTTERINGGet It Done: Clean Out Your Bedroom Closet
You can do it. Sort, purge, clean — and luxuriate in all the extra space you’ll gain — with this motivating, practical how-to
Full Story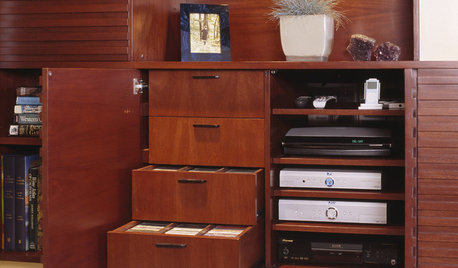
MEDIA ROOMSGet It Done: Organize the Media Cabinet
Ditch the worn-out VHS tapes, save valuable storage space and find hidden gems with this quick weekend spruce-up
Full Story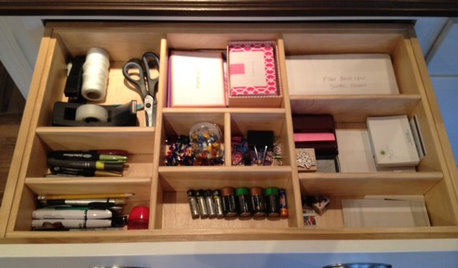
HOUSEKEEPINGGet It Done: Whip That Junk Drawer Into Shape
If the jumbled mess in your catch-all drawer inspires only dread, this quick organizing project is just the sort you need
Full Story
HOUSEKEEPINGGet It Done: Clean Out the Linen Closet
Organized bliss for your bedroom sheets and bathroom towels is just a few hours away
Full Story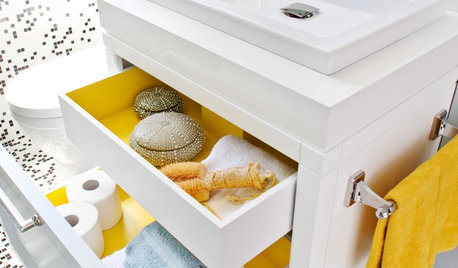
BATHROOM DESIGNGet It Done: Organize the Bathroom for Well-Earned Bliss
You deserve the dreamy serenity of cleared countertops, neatly arranged drawers and streamlined bathroom storage
Full Story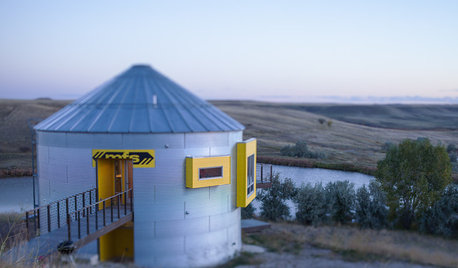
HOUZZ TOURSHouzz Tour: Prairie Grain Bin Turned Bucolic Retirement Home
An agrarian structure and a big dream combine in this one-of-a-kind home that celebrates 250 acres of Montana grasslands
Full Story
TXEB
kimpa zone 9b N. Florida.
Related Professionals
Norfolk Landscape Architects & Landscape Designers · Maple Valley Landscape Architects & Landscape Designers · Rancho Cordova Landscape Architects & Landscape Designers · Norwood Landscape Contractors · Duarte Landscape Contractors · Harrisburg Landscape Contractors · Live Oak Landscape Contractors · Maywood Landscape Contractors · Natick Landscape Contractors · Natick Decks, Patios & Outdoor Enclosures · New Berlin Decks, Patios & Outdoor Enclosures · North Aurora Decks, Patios & Outdoor Enclosures · Oak Ridge Decks, Patios & Outdoor Enclosures · Randolph Decks, Patios & Outdoor Enclosures · Southampton Decks, Patios & Outdoor Enclosuresmulchmama
mulchmama
glib
bluegoat_gw
njitgradOriginal Author
TXEB
njitgradOriginal Author
TXEB
njitgradOriginal Author
TXEB
njitgradOriginal Author
gardenstateblossom (NJ 6b)
socalgal_gw Zone USDA 10b Sunset 24