


Roberts' (soilguy) Methods
Lloyd
15 years ago
Related Stories
GREEN BUILDING8 Fabulous Prefab Homes Around the World
See global examples of housing’s best-kept secret — and learn why prefab may be the future of home building
Full Story
FEEL-GOOD HOME9 Smells You Actually Want in Your Home
Boost memory, enhance sleep, lower anxiety ... these scents do way more than just smell good
Full Story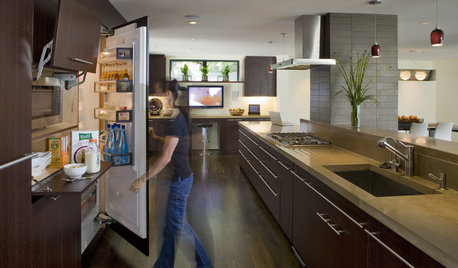
HOUSEKEEPINGHow to Clean Your Fridge, Inside and Out
Keep your refrigerator clean and fresh, while you gain storage space and lose those ‘UFOs’
Full Story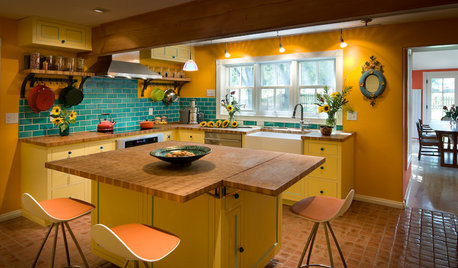
COLORFUL KITCHENSKitchen of the Week: From Style Mishmash to Streamlined Farmhouse
Vibrant colors and rustic materials give an 1800s Colorado kitchen a thoughtful contemporary update
Full Story
INSPIRING GARDENSThe Garden That Orchids Built
The owners of a famous orchid nursery create a sanctuary for themselves in South Florida
Full Story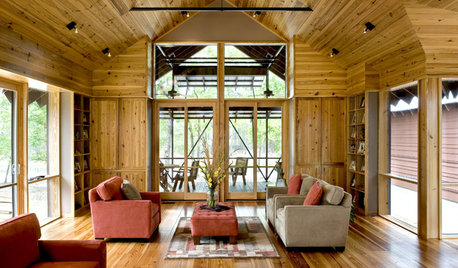
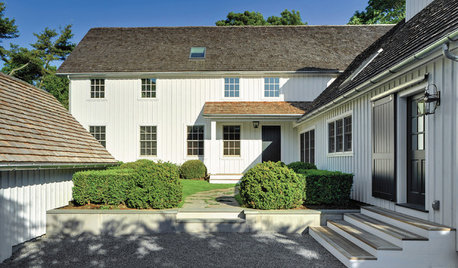
HOUZZ TOURSHouzz Tour: From Overgrown Weeds to Picturesque Farmhouse Expanse
This once-neglected 100-acre South Carolina site now features a lake, a wood-filled farmhouse and a far-reaching view
Full Story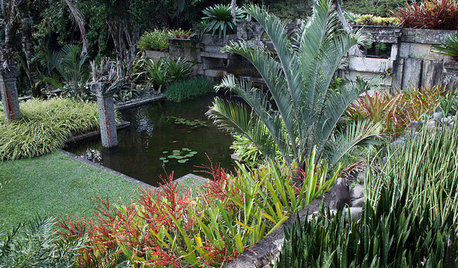
LANDSCAPE DESIGNArtistic Planting Ideas From a Brazilian Superstar
His abstract designs and native plantings changed the face of landscape architecture. Could Roberto Burle Marx’s style enhance your garden?
Full Story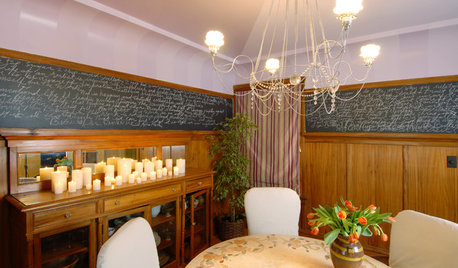
DECORATING GUIDESHow to Create a Great Dining Room Wall
Shelves, candles, stonework, wallpaper and chalkboard paint make dramatic backdrops for feasts
Full Story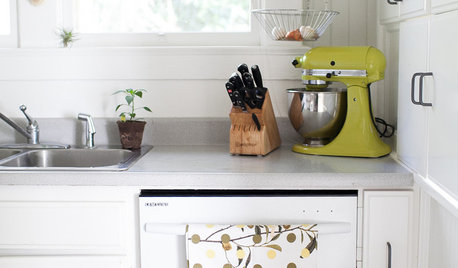
HOUSEKEEPINGDishwasher vs. Hand-Washing Debate Finally Solved — Sort Of
Readers in 8 countries weigh in on whether an appliance saves time, water and sanity or if washing by hand is the only saving grace
Full Story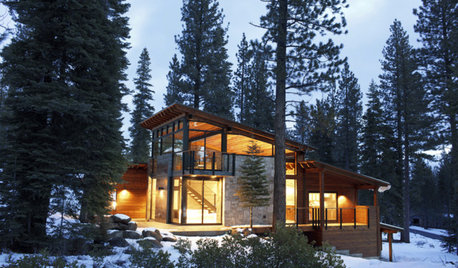
HOUZZ TOURSHouzz Tour: Cozy Mountain Retreat Near Lake Tahoe
An observation deck, a gourmet kitchen and generous helpings of windows make this California vacation home a storm watcher's paradise
Full StoryMore Discussions

val_s
LloydOriginal Author
Related Professionals
Benbrook Landscape Architects & Landscape Designers · La Marque Landscape Architects & Landscape Designers · Parole Landscape Architects & Landscape Designers · Maple Heights Landscape Architects & Landscape Designers · Bridgeport Landscape Contractors · Danvers Landscape Contractors · Eagle Landscape Contractors · Red Oak Landscape Contractors · Uxbridge Landscape Contractors · White Bear Lake Landscape Contractors · Suisun City Landscape Contractors · Coatesville Decks, Patios & Outdoor Enclosures · Randallstown Decks, Patios & Outdoor Enclosures · Redmond Decks, Patios & Outdoor Enclosures · St. Louis Decks, Patios & Outdoor Enclosuresval_s
soilguy
LloydOriginal Author
val_s
bpgreen
val_s
soilguy
LloydOriginal Author
val_s
soilguy
bpgreen
bpgreen
LloydOriginal Author
soilguy
LloydOriginal Author
val_s
soilguy
soilguy
val_s
soilguy
val_s
lynxe
engineeredgarden
soilguy
val_s
soilguy
greenbean08_gw
greenbean08_gw
val_s
soilguy
greenbean08_gw
LloydOriginal Author
greenbean08_gw
soilguy
greenbean08_gw
rdak
val_s
soilguy
rdak
lynxe
soilguy
garycinchicago
pennymca
LloydOriginal Author
soilguy
LloydOriginal Author
soilguy
soilguy