


Fire Pit and Patio Construction
jugglerguy
13 years ago
Sort by:Oldest
Comments (64)
Related Stories
GARDENING AND LANDSCAPINGDraw a Crowd With a Fire Pit
For an alluring patio or backyard and a happy group of guests, get cracking with a fire pit
Full Story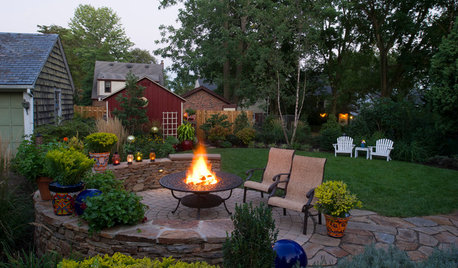
GARDENING AND LANDSCAPING7 Outdoor Fire Features Fuel the Soul
Spark some backyard bonding with a fireplace or fire pit, taking inspiration from these shining examples of great design
Full Story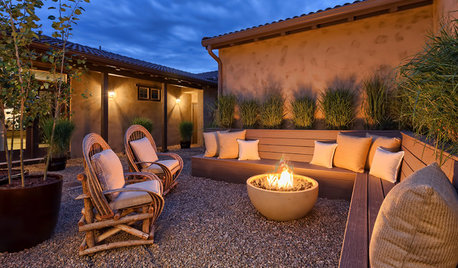
GARDENING AND LANDSCAPINGNew This Week: 3 Fire Pits Herald the Start of Summer
Toast summer — and marshmallows — with these sizzling fire pit designs recently uploaded to Houzz
Full Story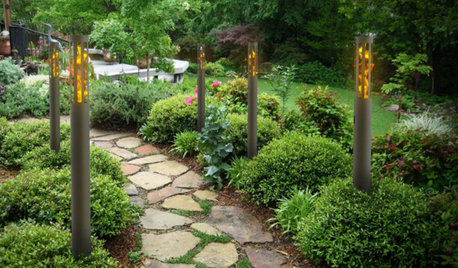
SHOP HOUZZShop Houzz: Up to 60% Off Fire Pits, Fireplaces and Torches
Save up to 60% on just the right fire feature for your backyard or patio
Full Story0

GARDENING AND LANDSCAPINGEco-Friendly Fire Pits: Casting Backyard Campfires in a New Light
Wood burning may be discouraged — even illegal in places — but that needn't mean forsaking the fire pit. Try one of these alternatives
Full Story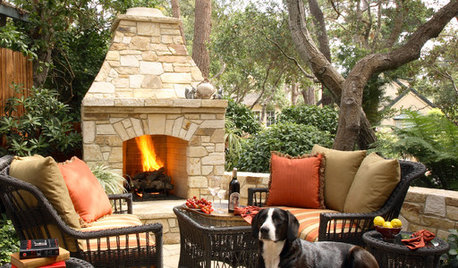
PATIOSSpring Patio Fix-Ups: Install an Outdoor Fireplace or Fire Pit
Make your yard the place to be by adding a fire feature that draws a crowd
Full Story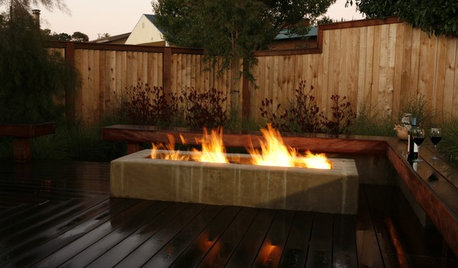
GARDENING AND LANDSCAPING16 Fire Pits to Fit Into Your Landscape
A Warming Fire Keeps the Party Going Outdoors
Full Story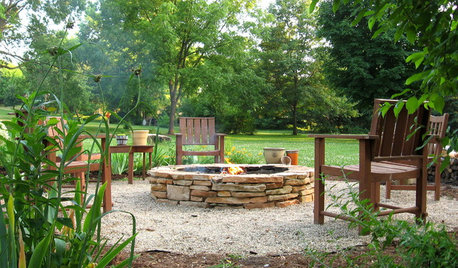
GARDENING AND LANDSCAPINGHow to Make a Stacked Stone Fire Pit
See how to build a cozy outdoor gathering place for less than $500
Full Story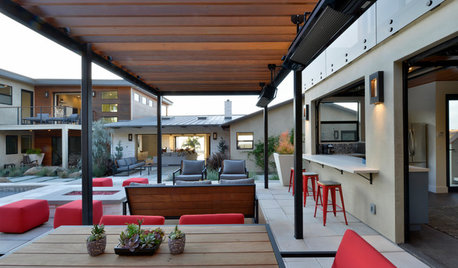
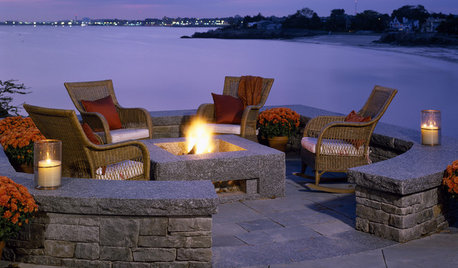
PATIOSPatio Details: New Entertaining Area Takes the Party Outside
A covered patio, an outdoor kitchen and a fire pit off a guesthouse extend the entertainment area of this ocean-view property
Full Story
GARDENING AND LANDSCAPINGPave the Way to Landscape Style With Flagstone
Define a patio, build a path, make a fire pit ... learn about flagstone's many uses, plus costs and considerations, here
Full Story
jugglerguyOriginal Author
haxuan
Related Professionals
Deer Park Landscape Architects & Landscape Designers · Marco Island Landscape Architects & Landscape Designers · Cornelius Landscape Contractors · Deerfield Beach Landscape Contractors · El Mirage Landscape Contractors · Milford Landscape Contractors · Salmon Creek Landscape Contractors · Smyrna Landscape Contractors · Vashon Landscape Contractors · Wayland Landscape Contractors · Catonsville Fence Contractors · East Peoria Fence Contractors · Lake Forest Fence Contractors · Pennsauken Fence Contractors · Voorhees Fence ContractorsjugglerguyOriginal Author
haxuan
jugglerguyOriginal Author
toffee1
jugglerguyOriginal Author
toffee1
jugglerguyOriginal Author
haxuan
botann
jugglerguyOriginal Author
botann
jolj
jugglerguyOriginal Author
Kevin Reilly
jugglerguyOriginal Author
jenn
jugglerguyOriginal Author
tanowicki
chickadee_42us
jugglerguyOriginal Author
jolj
jolj
jugglerguyOriginal Author
tanowicki
jugglerguyOriginal Author
tanowicki
jugglerguyOriginal Author
jugglerguyOriginal Author
tanowicki
lolauren
jenn
hardin
greenman28 NorCal 7b/8a
jolj
novascapes
botann
chickadee_42us
deviant-deziner
christina923
jugglerguyOriginal Author
karin_mt
jugglerguyOriginal Author
karin_mt
gwen_spurgart
jugglerguyOriginal Author
jugglerguyOriginal Author
jugglerguyOriginal Author
Davison's 4 Seasons Landscaping