


What would it take to make this sidewalk?
TxMarti
11 years ago
Related Stories
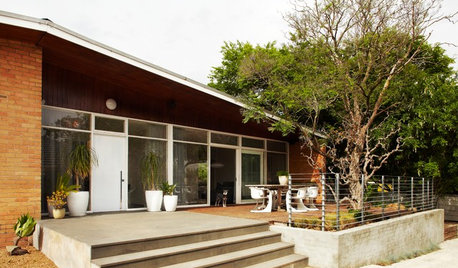
GARDENING AND LANDSCAPINGTake Back Your Front Yard: 8 Ways to Make It Social
If only trees and squirrels gather in your front yard, you're missing out on valuable socializing space. Here's how to remedy that
Full Story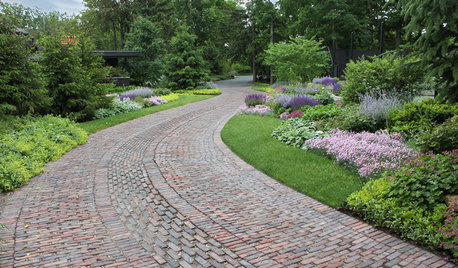
LANDSCAPE DESIGN6 Driveway Looks Take Landscapes Along for the Ride
See how to design a front yard that makes your driveway its own destination
Full Story
WALL TREATMENTSDouble Take: How Did They Make That Mondrian-Inspired Wall?
Bright colors and wood grains create an artful midcentury modern feature in this Southern California living room
Full Story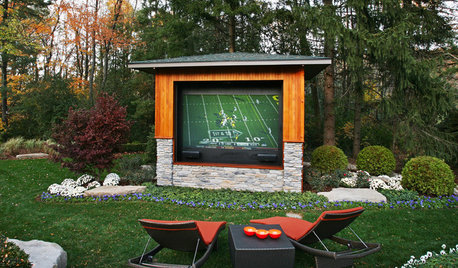
GARDENING AND LANDSCAPINGDouble Take: This Outdoor Screen Makes Game Day a Snap
A Michigan family goes long and wide on their backyard party central with a supersize screen, fire pits and lounging for a crowd
Full Story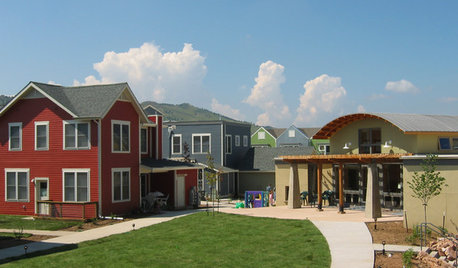
COMMUNITYTogetherness Take 2: Is a Cohousing Community for You?
Missing that sense of connection? Consider the new breed of neighborhood with a communal bent
Full Story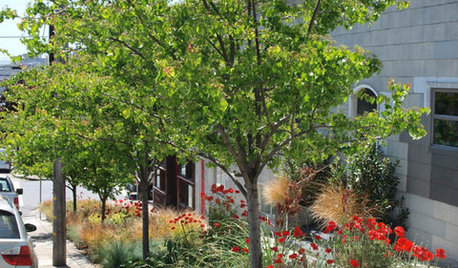
CURB APPEALTake Your Hell Strip to Heavenly Heights: 8 Design Ideas
Trade weedy dirt and trash for a parking strip filled with wispy grasses, low-growing flowers and textural trees
Full Story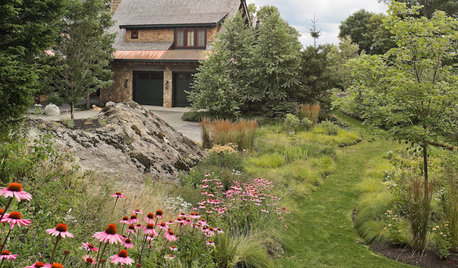
GARDENING GUIDES13 Risks to Take for True Garden Rewards
Go ahead, be a rebel. Breaking rules in the garden can lead to more happiness, creativity and connection with the earth
Full Story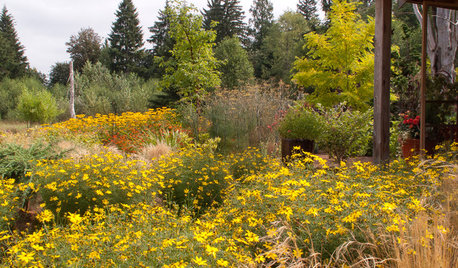
FLOWERSGreat Design Plant: Zagreb Tickseed Takes Care of Itself (Almost)
Get colorful drama along with deer resistance, drought tolerance and low maintenance — plus a butterfly or two
Full Story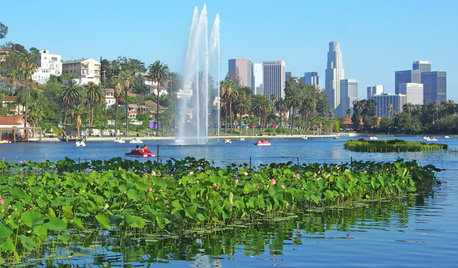
COMMUNITYIn L.A.’s Echo Park, a New Urban Development Takes Flight
Blackbirds, a new ‘microneighborhood’ near downtown, is Los Angeles’ latest small-lot urban infill project
Full Story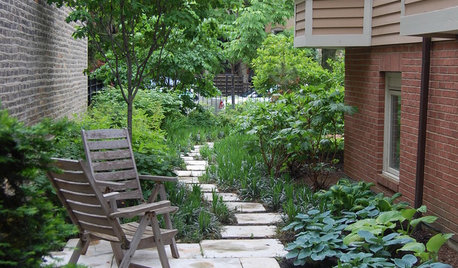
LANDSCAPE DESIGN17 Wandering Paths That Take Joy in the Journey
Explore secondary paths that are full of nuance and add intrigue to the landscape
Full StoryMore Discussions

chibimimi
KastleBravo
Related Professionals
Glendora Landscape Architects & Landscape Designers · White Oak Landscape Architects & Landscape Designers · Clearlake Landscape Contractors · Concord Landscape Contractors · Concord Landscape Contractors · Gurnee Landscape Contractors · Kahului Landscape Contractors · Ridgewood Landscape Contractors · Northlake Landscape Contractors · Carlsbad Fence Contractors · Fort Lauderdale Fence Contractors · Fort Worth Fence Contractors · Fremont Fence Contractors · Minneapolis Fence Contractors · Northlake Fence Contractors