


Broken Concrete for retaining wall
Grinche
19 years ago
Sort by:Oldest
Comments (7)
Related Stories

HOMES AROUND THE WORLDHouzz Tour: A Home Made to Look ‘Smashed, Bashed and Broken’
In a beautiful, secluded New Zealand valley, a vacation house buit from reclaimed materials pays homage to traditional agrarian structures
Full Story
ARCHITECTUREOpen Plan Not Your Thing? Try ‘Broken Plan’
This modern spin on open-plan living offers greater privacy while retaining a sense of flow
Full Story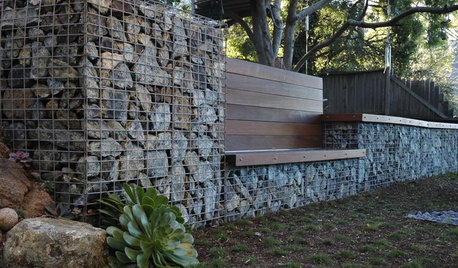
GARDENING AND LANDSCAPING7 Out-of-the-Box Retaining Wall Ideas
Go Beyond Railroad Ties With Stylish Rock, Metal, Blocks, and Poured Concrete
Full Story
LANDSCAPE DESIGNGarden Walls: Pour On the Style With Concrete
There's no end to what you — make that your contractor — can create using this strong and low-maintenance material
Full Story
CONCRETEConcrete Block Style
Industrial flair: See why concrete brick isn't just for retaining walls anymore
Full Story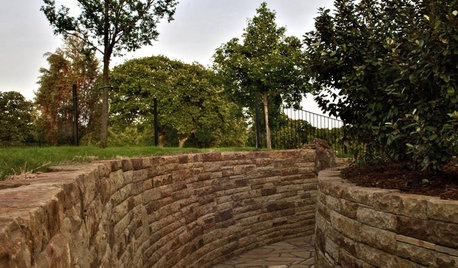
LANDSCAPE DESIGNPile On Style With a Dry-Laid Stone Retaining Wall
Durable, natural and practical, this landscape feature is an art form unto itself
Full Story
LANDSCAPE DESIGNGarden Walls: Gabion Evolves From Functional to Fabulous
The permeable rock-, concrete- or glass-filled steel cages are showing up as retaining walls, planters, benches and more
Full Story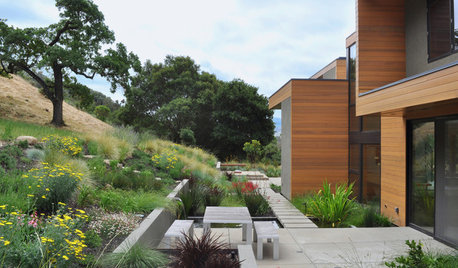
LANDSCAPE DESIGNOutdoor Style: Creative Ways With Classic Concrete
Have you cast concrete aside as being too dull or crack-prone? Learn about new design options along with the basics of using it outside
Full Story
GREAT HOME PROJECTSHow to Tear Down That Concrete Patio
Clear the path for plantings or a more modern patio design by demolishing all or part of the concrete in your yard
Full Story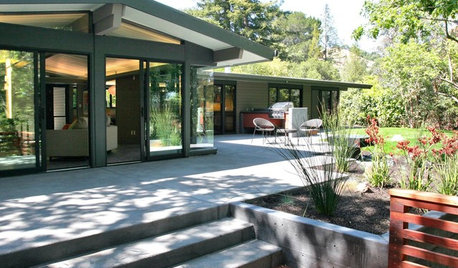
LANDSCAPE DESIGN5 Ways to Make Your Concrete Patio More Attractive
These design ideas can liven up your paved outdoor space
Full Story
treebeard
matteow
Related Professionals
Panama City Landscape Architects & Landscape Designers · Peabody Landscape Contractors · Bell Gardens Landscape Contractors · Caldwell Landscape Contractors · Davis Landscape Contractors · Hilo Landscape Contractors · Middletown Landscape Contractors · San Pedro Landscape Contractors · Ansonia Landscape Contractors · Lexington Fence Contractors · Newington Fence Contractors · Oceanside Fence Contractors · Plainfield Fence Contractors · Sacramento Fence Contractors · The Villages Fence Contractorslynnt
GrincheOriginal Author
lynnt
Broc
mnraindog