


Lightweight Portable Low Tunnel....Chicken Run
eric_wa
14 years ago
Related Stories

WINDOW TREATMENTSHow Low Should Your Drapes Go?
Hover, brush the floor or pool like Scarlett O'Hara's tears — we give you the lowdown on curtain length options
Full Story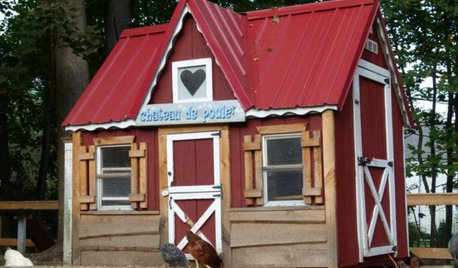
GARDENING AND LANDSCAPINGChicken Coops That Rule the Roost
These 8 chicken coops designed by Houzz users will have you clucking in admiration — and maybe even planning a henhouse of your own
Full Story
PETSWorld of Design: Pampered Pets and Their 10 One-of-a-Kind Homes
Fall in love with these critters and their clever living spaces, from a cat playground in France to a chicken house in the U.S.
Full Story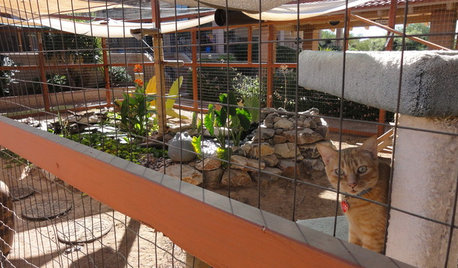
PETSSee a Deluxe 'Catio' Built for Feline Fun
Sixteen lucky cats get the run of a protected outdoor patio with ramps, steps and even a koi pond
Full Story
BUDGET DECORATING8 Cost-Effective Ways to Get a High-End Look
Don’t discount that expensive material yet. By using a small amount in a strategic way, you can get a luxurious look without the expense
Full Story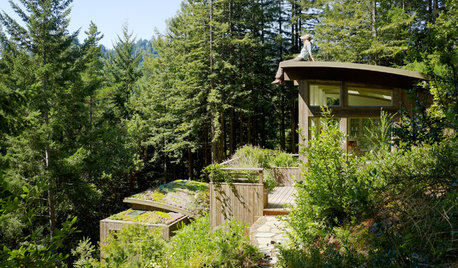
REMODELING GUIDESLiving Roofs Crown Green Design
Living roofs save energy, improve air, water, curb appeal — and the view from above doesn't hurt either
Full Story
HOUSEKEEPINGHow to Clean Your Cookware So It Lasts
Avoid damage during everyday cleaning and stain scrubbing, with these tips for pots and pans made of popular materials
Full Story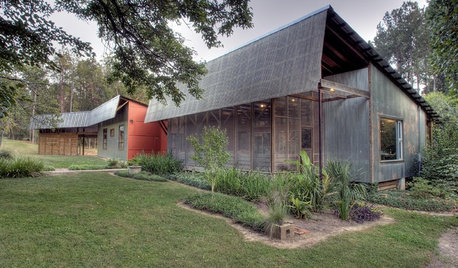
REMODELING GUIDESHello Again, Corrugated Panels
Once-Shunned Material Finds Expressive New Role in Contemporary Homes
Full Story
MOST POPULAR20 Ideas for Easygoing Summer Parties
Ditch the fancy and fussy in favor of laid-back entertaining that leaves you more time to enjoy the fun
Full Story
KITCHEN DESIGNNot a Big Cook? These Fun Kitchen Ideas Are for You
Would you rather sip wine and read than cook every night? Consider these kitchen amenities
Full Story
eaglesgarden
eric_waOriginal Author
Related Professionals
Eden Prairie Landscape Architects & Landscape Designers · Anderson Landscape Contractors · Franklin Landscape Contractors · Indianapolis Landscape Contractors · Kaneohe Landscape Contractors · Long Beach Landscape Contractors · Mastic Beach Landscape Contractors · Parker Landscape Contractors · Chicago Ridge Landscape Contractors · Casselberry Landscape Contractors · Baileys Crossroads Landscape Contractors · Brockton Solar Energy Systems · East Lake Solar Energy Systems · Rockledge Solar Energy Systems · Wildomar Solar Energy Systemssoonergrandmom
eric_waOriginal Author
huisjen
eric_waOriginal Author
soonergrandmom
eric_waOriginal Author
ezzirah011
eric_waOriginal Author
eric_waOriginal Author
eric_waOriginal Author
Dan _Staley (5b Sunset 2B AHS 7)
eric_waOriginal Author
Dan _Staley (5b Sunset 2B AHS 7)
NHBabs z4b-5a NH
eric_waOriginal Author
Dan _Staley (5b Sunset 2B AHS 7)
eric_waOriginal Author
Dan _Staley (5b Sunset 2B AHS 7)
sfallen2002
eric_waOriginal Author
Dan _Staley (5b Sunset 2B AHS 7)
olmec_blockhill_co_nz
Dan _Staley (5b Sunset 2B AHS 7)