


Pictures of 10x12 HFGH Modifications
gardenerwantabe
18 years ago
Sort by:Oldest
Comments (18)
Related Stories
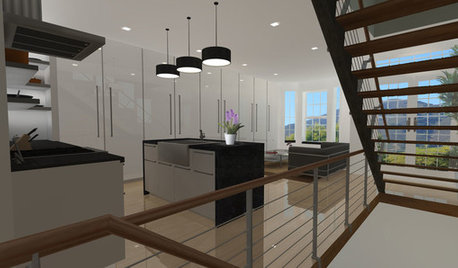
THE ART OF ARCHITECTUREExperience Your New Home — Before You Build It
Photorealistic renderings can give you a clearer picture of the house you're planning before you take the leap
Full Story
LAUNDRY ROOMSTop 10 Trending Laundry Room Ideas on Houzz
Of all the laundry room photos uploaded to Houzz so far in 2016, these are the most popular. See why
Full Story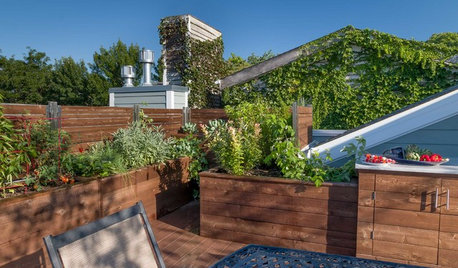
GARDENING GUIDES10 Tips for Beginning Gardeners
With a simple sketch, basic tools and the right plants, you’ll be on your way to growing your first flowers or edibles
Full Story
DECORATING GUIDESWorld of Design: Decorating Ideas From 10 Renters Around the Globe
Even if you don’t own your home, you can live beautifully. Browse these ideas from international tenants who’ve made their spaces special
Full Story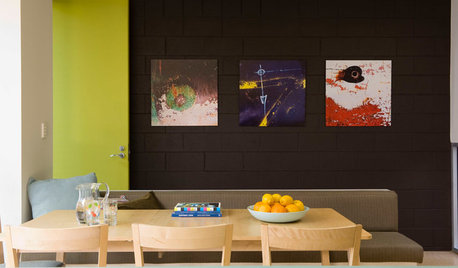
PAINTING10 Rules for Your Next Painting Project
Take your next painting journey from ‘argh!’ to ‘ta-da!’ with these designer tricks
Full Story
KITCHEN DESIGNExpert Talk: 10 Reasons to Hang a Chandelier in the Kitchen
Unexpected? Sure. Incongruent? Not at all. Professional designers explain why a chandelier can work in kitchens from traditional to modern
Full Story
GARDENING AND LANDSCAPINGChill Out: 10 Cool Ways to Beat the Heat Outdoors
Step away from the A/C's artificial blast — and treat yourself to these more natural cool-down methods in the great outdoors
Full Story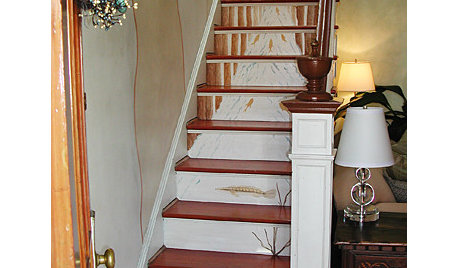

KITCHEN DESIGNKitchen Confidential: Amp Up Your Storage With Pullouts
See 12 types of cabinet pullouts that make your cooking and cleaning items easier to find and use
Full Story
KITCHEN DESIGNKitchen of the Week: Small Kitchen, Big View
New bay window and smart storage gives this 12-foot-wide Philadelphia kitchen breathing room
Full StoryMore Discussions

roxy77
milwdave
Related Professionals
Oatfield Landscape Architects & Landscape Designers · Byram Landscape Contractors · Coram Landscape Contractors · Indianapolis Landscape Contractors · Las Vegas Landscape Contractors · Rosemount Landscape Contractors · Seminole Landscape Contractors · Shirley Landscape Contractors · South Hackensack Landscape Contractors · Southbury Landscape Contractors · St. Louis Landscape Contractors · Lomita Solar Energy Systems · Lynn Solar Energy Systems · Muscatine Solar Energy Systems · Palo Alto Solar Energy SystemsgardenerwantabeOriginal Author
puffysmom
gardenerwantabeOriginal Author
nathanhurst
mraroid
feisty
gardenerwantabeOriginal Author
blondboy47
feisty
soycandle
slaphead
gardenerwantabeOriginal Author
feisty
feisty
feisty
aberwacky_ar7b