


Advice for Building Quonset Greenhouse?
Bonheur
18 years ago
Sort by:Oldest
Comments (10)
Related Stories
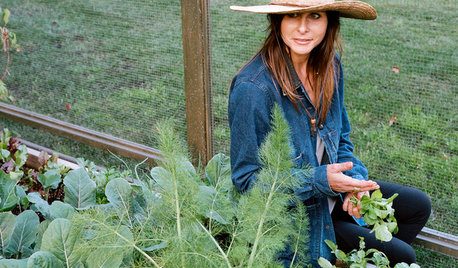
FARM YOUR YARDAdvice on Canyon Farming From L.A.'s Vegetable Whisperer
See how a screened garden house and raised beds help an edible garden in a Los Angeles canyon thrive
Full Story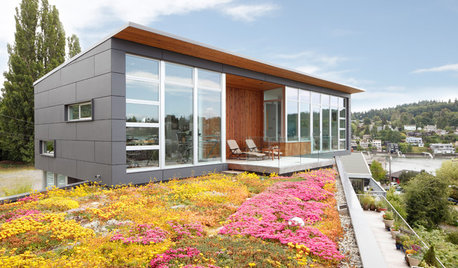
CONTRACTOR TIPSBuilding Permits: What to Know About Green Building and Energy Codes
In Part 4 of our series examining the residential permit process, we review typical green building and energy code requirements
Full Story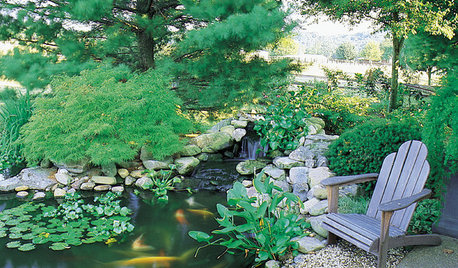
GARDENING AND LANDSCAPINGHow to Make a Pond
You can make an outdoor fish paradise of your own, for less than you might think. But you'll need this expert design wisdom
Full Story
LIFEYou Said It: ‘I Knew This Home Had to Be Mine’ and More Quotables
Design advice, inspiration and observations that struck a chord this week
Full Story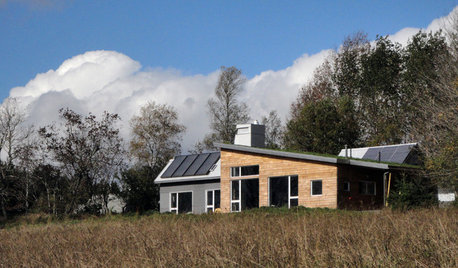
GREEN BUILDINGHouzz Tour: Going Completely Off the Grid in Nova Scotia
Powered by sunshine and built with salvaged materials, this Canadian home is an experiment for green building practices
Full Story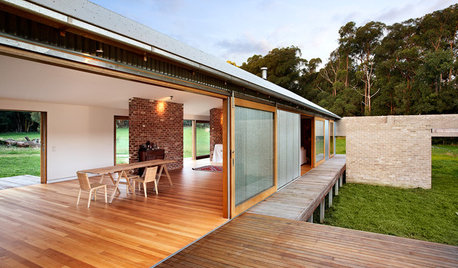
ARCHITECTUREHow Thermal Mass Keeps You Warm and Cool
Passive solar design makes use of this element. Here’s how it works and how you can get it in your home
Full Story
LANDSCAPE DESIGNNatural Swimming Pools: More Beauty, No Chemicals
Keep your skin and the environment healthy with a pool that cleans itself, naturally
Full Story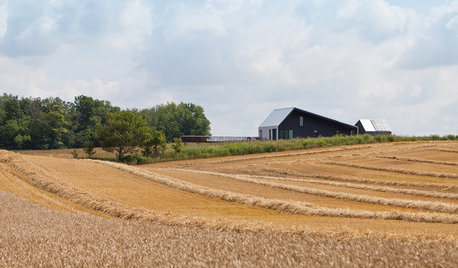
GREEN BUILDINGOff the Grid: Ready to Pull the Plug on City Power?
What to consider if you want to stop relying on public utilities — or just have a more energy-efficient home
Full Story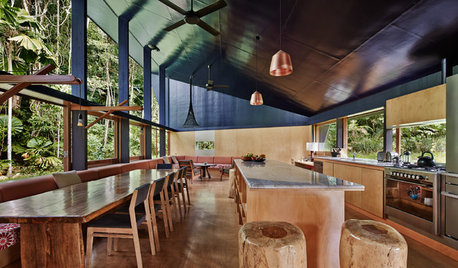
HOUZZ TOURSWorld of Design: 9 Energy-Smart Australian Homes
With their innovative features and diverse surroundings, these 9 award-winning homes have struck gold on the Aussie design stage
Full Story
LIFECool Architecture for Hot Summers
Sun-repelling roofs, shades, windows and the natural flow of air can help your home weather heat waves
Full StorySponsored
Industry Leading Interior Designers & Decorators in Franklin County
More Discussions

barrie2m_(6a, central PA)
BonheurOriginal Author
Related Professionals
Marco Island Landscape Architects & Landscape Designers · Rancho Palos Verdes Landscape Architects & Landscape Designers · Suffern Landscape Architects & Landscape Designers · Gainesville Landscape Contractors · Andover Landscape Contractors · Arden-Arcade Landscape Contractors · Brookfield Landscape Contractors · Brookline Landscape Contractors · Holland Landscape Contractors · Lemont Landscape Contractors · Painesville Landscape Contractors · San Pedro Landscape Contractors · Norridge Landscape Contractors · Voorhees Solar Energy Systems · Rosamond Solar Energy Systemsbarrie2m_(6a, central PA)
BonheurOriginal Author
barrie2m_(6a, central PA)
little_dani
BonheurOriginal Author
little_dani
jptrade
trmeyer