


Building a Costco garden shed kit
javan
13 years ago
Sort by:Oldest
Comments (4)
Related Stories
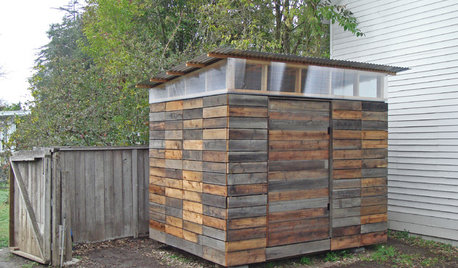
STORAGE2 Weeks + $2,000 = 1 Savvy Storage Shed
This homeowner took backyard storage and modern style into his own hands, building a shed with reclaimed redwood and ingenuity
Full Story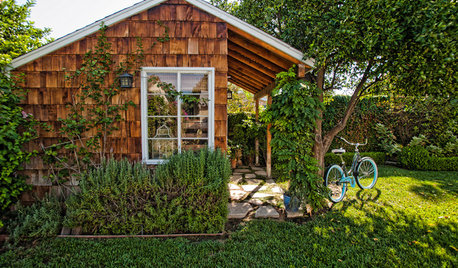
BACKYARD IDEAS7 Backyard Sheds Built With Love
The Hardworking Home: Says one homeowner and shed builder, ‘I am amazed at the peace and joy I feel when working in my garden shed’
Full Story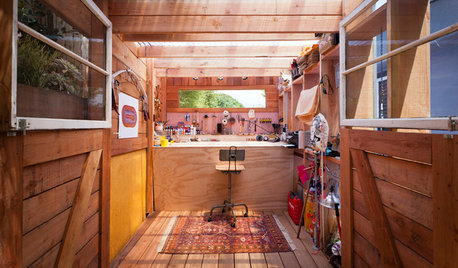
GARDEN SHEDSHouzz Call: Show Us Your Hardworking Garden Shed!
Upload a photo of your backyard shed or greenhouse and tell us how it works for you
Full Story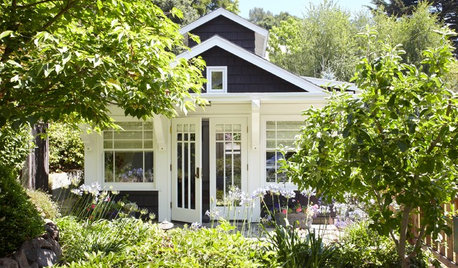
BACKYARD STUDIOS12 Garden Sheds and Cottages We Love Now
Get inspiration from these inviting backyard spaces that house offices, guest quarters, garden storage and more
Full Story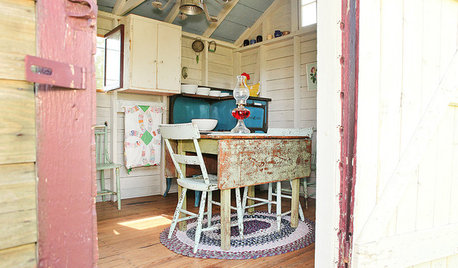
HOUZZ TOURSMy Houzz: A Backyard Getaway Emerges From a Grain Shed
Cozy and brimming with country charm, this snug antiques-filled hideout encourages quiet pastimes
Full Story
GARDENING AND LANDSCAPING13 Inspiring Ideas for Backyard Sheds
Whether you love an inspiring backyard retreat or just need a spot to stow a hoe, these great outdoor sheds have some ideas for you
Full Story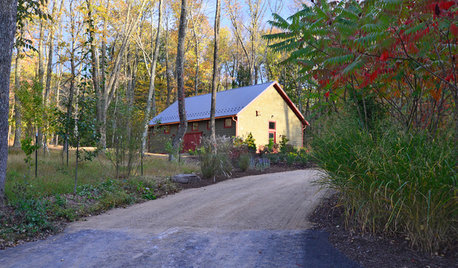
BACKYARD STUDIOSMaster Builder Crafts a Dream Workshop
A design-build firm owner uses an economical building method for his large shed and finishes it off nicely to blend into the scenery
Full Story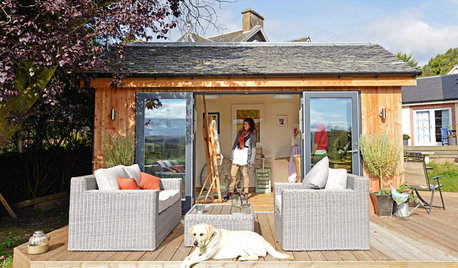
MOST POPULAR11 Nominees for the ‘She Shed’ Hall of Fame
These special sanctuaries let busy women get away from it all without leaving the backyard
Full Story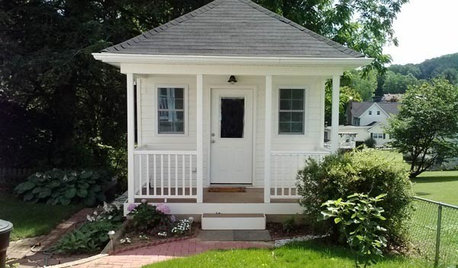
STUDIOS AND WORKSHOPSCreative Houzz Users Share Their ‘She Sheds’
Much thought, creativity and love goes into creating small places of your own
Full Story
OUTBUILDINGSWorld of Design: 11 Inspiring Sheds From Santa Barbara to Stockholm
Outbuildings from around the world show how sheds and cottages set the scene for everything from baking in a sauna to beekeeping
Full StorySponsored
Zanesville's Most Skilled & Knowledgeable Home Improvement Specialists
More Discussions

javanOriginal Author
javanOriginal Author
Related Professionals
Middle River Landscape Architects & Landscape Designers · Mitchellville Landscape Architects & Landscape Designers · Oconomowoc Landscape Architects & Landscape Designers · Saint Charles Landscape Architects & Landscape Designers · Downey Landscape Contractors · Laguna Hills Landscape Contractors · Melrose Park Landscape Contractors · Mission Bend Landscape Contractors · Nanuet Landscape Contractors · Newberg Landscape Contractors · Rockland Landscape Contractors · Seminole Landscape Contractors · South Farmingdale Landscape Contractors · Selma Landscape Contractors · Palo Alto Solar Energy Systemscheapheap
javanOriginal Author