


Watering newly sown seeds and seedlings
reinbeaux
19 years ago
Featured Answer
Sort by:Oldest
Comments (10)

Rosa
19 years agolast modified: 9 years agoellen_inmo
19 years agolast modified: 9 years agoRelated Professionals
Londonderry Landscape Architects & Landscape Designers · Bell Gardens Landscape Contractors · Berkeley Heights Landscape Contractors · Fort Myers Landscape Contractors · Mercedes Landscape Contractors · Wallingford Landscape Contractors · Carlisle Decks, Patios & Outdoor Enclosures · Grain Valley Decks, Patios & Outdoor Enclosures · Livingston Decks, Patios & Outdoor Enclosures · Montgomery County Decks, Patios & Outdoor Enclosures · Reading Decks, Patios & Outdoor Enclosures · Westford Decks, Patios & Outdoor Enclosures · Edison Roofing & Gutters · Fort Myers Roofing & Gutters · St. Louis Roofing & Guttersoregon_veg
19 years agolast modified: 9 years agomary_pnw_7b
19 years agolast modified: 9 years agoellen_inmo
19 years agolast modified: 9 years agoFleur
19 years agolast modified: 9 years agogillespiegardens
19 years agolast modified: 9 years agoRay1946
19 years agolast modified: 9 years agosaoodhashim
10 years agolast modified: 9 years ago
Related Stories

GARDENING GUIDESHow to Plant a New Lawn From Seed
Choose from more grass varieties and save money over sod by starting your lawn from seed
Full Story
GARDENING GUIDESSouthwest Gardener's April Checklist
Welcome the return of roses and herbs, and consider a new use for vines as you rejoice in your newly green spring garden
Full Story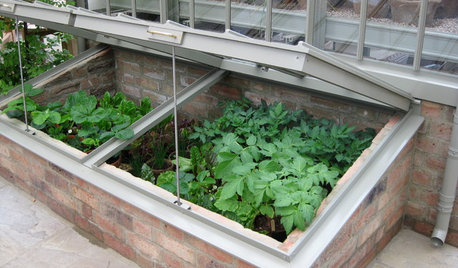
WINTER GARDENINGExtend Your Growing Season With a Cold Frame in the Garden
If the sun's shining, it might be time to sow seeds under glass to transplant or harvest
Full Story
GARDENING GUIDESSouthwest Gardener's February Checklist
Orange you glad for a citrus-fertilizing reminder? And don't forget the recommended doses of vegetable seeds and cold-hardy flowers
Full Story
EARTH DAYThe Case for Losing the Traditional Lawn
Work less, help the environment and foster connections by just saying no to typical turf
Full Story
MOST POPULARSpring Gardens Are Blooming — Here’s What to Do in April
Get the guide you need for gardening in your U.S. region, with tasks, climate-appropriate plantings and more
Full Story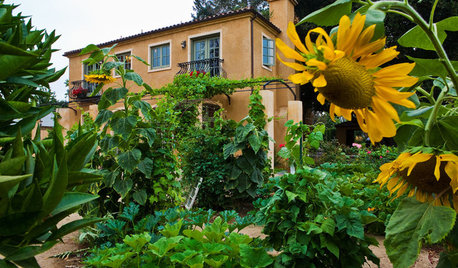
REGIONAL GARDEN GUIDESTexas Gardener's April Checklist
Get your sowing and planting on — spring brings a tantalizing array of possibilities in the garden
Full Story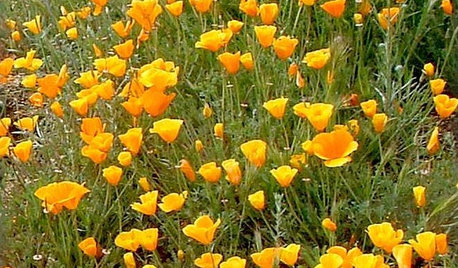
GARDENING GUIDESGreat Design Plant: California Poppy
Fall planting: California's state flower offers a glorious spring show and spreads readily in gardens under the right conditions
Full Story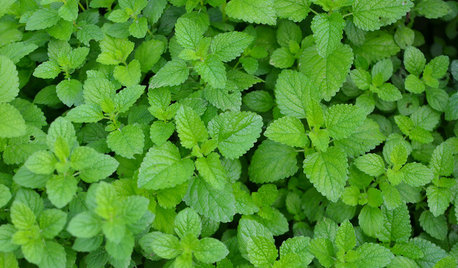
GARDENING GUIDESHerb Garden Essentials: Grow Your Own Delicious Mint
Pull out a pot for this one. Mint's spreading habit and hard-to-kill nature can be a blessing — if you're properly prepared
Full Story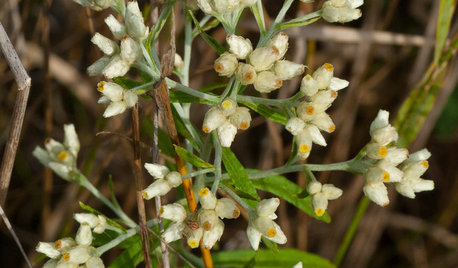
GARDENING GUIDESGreat Design Plant: Pseudognaphalium Obtusifolium, or Rabbit Tobacco
This late-blooming native annual, also known as sweet everlasting, adds spontaneity to landscapes in the eastern United States
Full StorySponsored
Your Custom Bath Designers & Remodelers in Columbus I 10X Best Houzz
More Discussions


ellen_inmo