


After Market Amazon Horse Tiller Tines, Mounting
chas045
11 years ago
Related Stories

KITCHEN DESIGN12 Items Worth a Spot on Your Kitchen Counter
Keep these useful tools and accessories out in the open to maintain high function without spoiling the view
Full Story
GREAT HOME PROJECTSHow to Make Your Garage a Storage Powerhouse
New project for a new year: Add shelving and containers to get your stuff off the garage floor — and still have room for the car
Full Story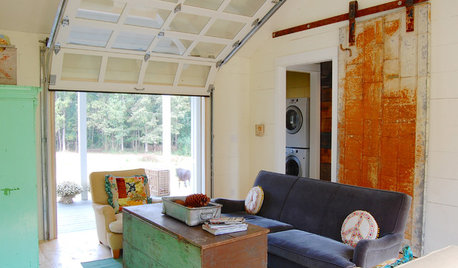
DOORSCreative Ways With Barn-Style Doors
Considering jumping on the barn-door bandwagon? These examples in different styles offer inspiration aplenty
Full Story
FARM YOUR YARDHow to Grow Vegetables in Containers
Get glorious vegetables and fruits on your patio with a pro’s guidance — including his personal recipe for potting mix
Full Story
KITCHEN DESIGNSimple Pleasures: Wake Up and Smell the Coffee
Slugging down any old sludge while pulling on socks is no way to start the day. Learn to brew amazing java and savor the experience here
Full Story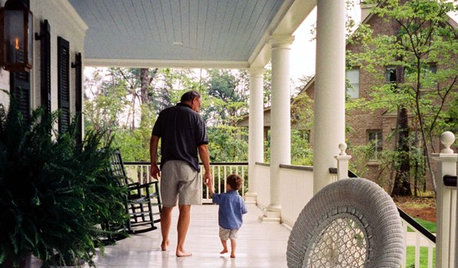
GARDENING AND LANDSCAPINGPorch Life: Banish the Bugs
Don't let insects be the bane of your sweet tea and swing time. These screening and product ideas will help keep bugs at bay on the porch
Full Story
GREAT HOME PROJECTSHow to Design a Family Photo Wall
New project for a new year: Display your favorite images of loved ones for the most personal gallery wall of all
Full Story
KITCHEN DESIGNLove to Bake? Try These 13 Ideas for a Better Baker's Kitchen
Whether you dabble in devil's food cake or are bidding for a bake-off title, these kitchen ideas will boost your baking experience
Full Story
KITCHEN DESIGN15 Creative Backsplashes Full of Character
You’ll find personality aplenty in these distinctive backsplashes — and lots of inspiration too
Full StoryMore Discussions
slowpoke_gardener
Related Professionals
Saint Louis Park Landscape Architects & Landscape Designers · Addison Landscape Contractors · Biloxi Landscape Contractors · Newberg Landscape Contractors · 07920 Landscape Contractors · Bonita Decks, Patios & Outdoor Enclosures · Boston Decks, Patios & Outdoor Enclosures · Fort Myers Decks, Patios & Outdoor Enclosures · San Antonio Decks, Patios & Outdoor Enclosures · St John's Kirk Decks, Patios & Outdoor Enclosures · Waukesha Decks, Patios & Outdoor Enclosures · Clearfield Home Builders · Los Banos Home Builders · Reedley Home Builders · Tustin Home Builders