


Starting briggs 440000
peteyj
14 years ago
Related Stories
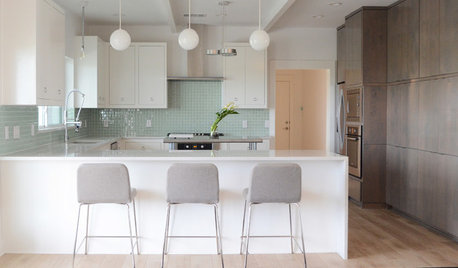
HOUZZ TOURSMy Houzz: Sleek and Chic in the Lone Star State
Cosmopolitan flair springs up in the Texas countryside, courtesy of a jewelry designer and her husband
Full Story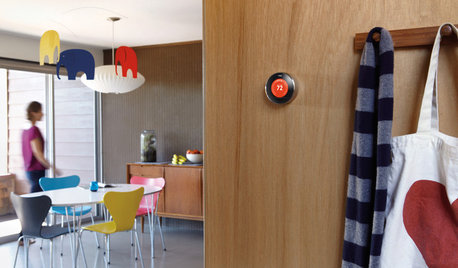
HOME TECHWhy Google Just Paid $3.2 Billion for a Company That Makes Thermostats
Smart home technology just got a new champion — and everyone is speculating about the reasons
Full Story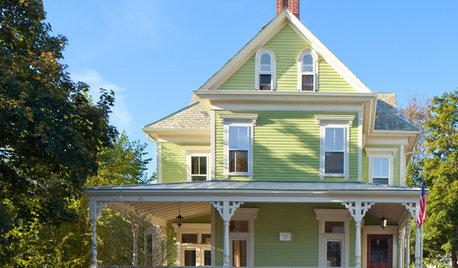
TRADITIONAL HOMESHouzz Tour: Redo Shines Light on 19th-Century Newport Beauty
The renovated Rhode Island home boasts gorgeous woodwork, an appealing wraparound porch and a newly spacious kitchen
Full Story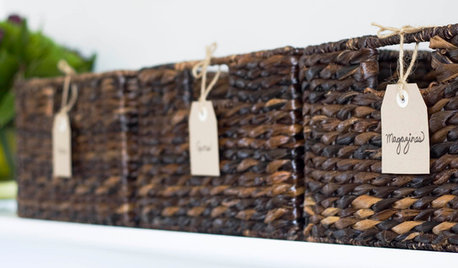
ORGANIZINGGet Organized: Are You a Piler or a Filer?
Tote out the bins and baskets and learn how to be an organized piler if file cabinets leave you cringing
Full Story
GARDENING FOR BUTTERFLIESGardening for the Bees, and Why It’s a Good Thing
When you discover how hard bees work for our food supply, you may never garden without them in mind again
Full Story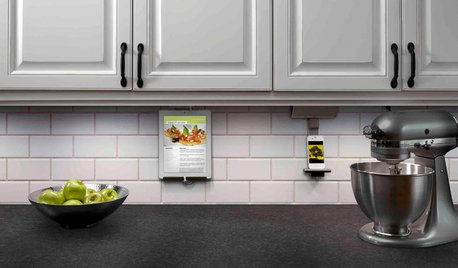
KITCHEN DESIGNHouzz Call: What’s Cooking in Your Kitchen?
Most of us turn to recipes, videos and culinary shows when we cook. Where do you set your cookbook, tablet or TV screen?
Full Story
DISASTER PREP & RECOVERYMore Power to You: How to Pick the Right Generator
If your home's electricity goes, don't let it take your necessities with it — keep systems running with this guide to backup power
Full Story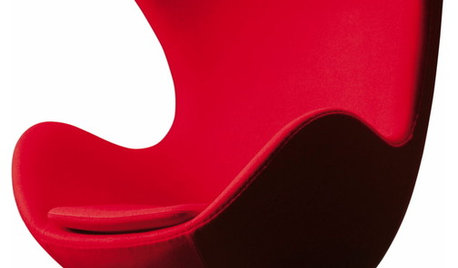
FUN HOUZZHouzz Quiz: Which Midcentury Modern Chair Are You?
Have a seat for a little fun. Better yet, have a seat that has you written all over it
Full Story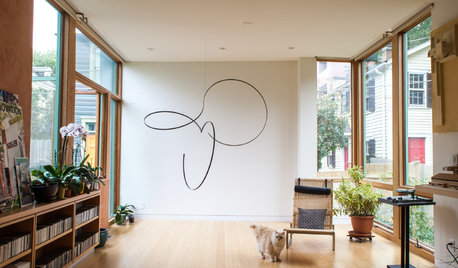
ARTAt Home With Art: Suspended Sculptures Heighten the Possibilities
Draw the eye in unexpected ways with 3D artwork hung from above
Full Story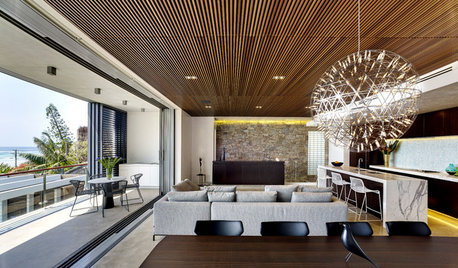
HOMES AROUND THE WORLDHouzz Tour: Byron Bay Beauty With Beach Views
Stunning ocean vistas and fresh sea breezes are two of the many bonuses of this award-winning Australian home
Full Story
mownie
tonysw
Related Professionals
Accokeek Landscape Architects & Landscape Designers · Arnold Landscape Architects & Landscape Designers · Birmingham Landscape Architects & Landscape Designers · Deer Park Landscape Architects & Landscape Designers · Forest City Landscape Architects & Landscape Designers · Beachwood Landscape Contractors · Bristol Landscape Contractors · Broomfield Landscape Contractors · Hendersonville Landscape Contractors · Lady Lake Landscape Contractors · North Canton Landscape Contractors · Paterson Landscape Contractors · Vacaville Landscape Contractors · Suisun City Landscape Contractors · Ferguson Landscape Contractorsmownie
tonysw
bill_kapaun
mownie
tonysw
tonysw
bill_kapaun
mownie
tonysw
mownie
tonysw
mownie
tonysw
tonysw
tonysw
mownie
tonysw
tonysw
mownie
tonysw
tonysw
bill_kapaun