


Craftsman Tractor Steering Replacement Question
dsearfass
15 years ago
Featured Answer
Sort by:Oldest
Comments (13)

rustyj14
15 years agolast modified: 9 years agotomplum
15 years agolast modified: 9 years agoRelated Professionals
Norfolk Landscape Architects & Landscape Designers · Ashland Landscape Architects & Landscape Designers · Folsom Landscape Architects & Landscape Designers · Montgomeryville Landscape Architects & Landscape Designers · Edmond Landscape Contractors · Arlington Landscape Contractors · Hayward Landscape Contractors · Little Ferry Landscape Contractors · South Hackensack Landscape Contractors · Wailuku Landscape Contractors · Weslaco Landscape Contractors · West Haverstraw Landscape Contractors · Wheat Ridge Landscape Contractors · Hawaiian Gardens Window Contractors · Mineola Window Contractorsbill_kapaun
15 years agolast modified: 9 years agodsearfass
15 years agolast modified: 9 years agodsearfass
15 years agolast modified: 9 years agorustyj14
15 years agolast modified: 9 years agodsearfass
15 years agolast modified: 9 years agojoysplace1
8 years agotomplum
8 years agorustyj14
8 years agojoysplace1
8 years agorustyj14
8 years ago
Related Stories
DECORATING GUIDESHere's How to Steer Clear of 10 Top Design Don'ts
Get interiors that look professionally styled even if you're taking the DIY route, by avoiding these common mistakes
Full Story
ARCHITECTUREHouse-Hunting Help: If You Could Pick Your Home Style ...
Love an open layout? Steer clear of Victorians. Hate stairs? Sidle up to a ranch. Whatever home you're looking for, this guide can help
Full Story
FURNITURESmart Shopper: How to Judge Antique Furniture Quality
Pick the treasures from the trash without expert experience by learning how to evaluate antiques and what questions to ask
Full Story
INSIDE HOUZZA New Houzz Survey Reveals What You Really Want in Your Kitchen
Discover what Houzzers are planning for their new kitchens and which features are falling off the design radar
Full Story
HOUZZ QUIZHouzz Quiz: What Color Should You Paint Your House?
Is white right? Maybe dark blue-gray? Take our quiz to find out which color is best for you and your home
Full StoryDECORATING GUIDESThe Case for the Anti-Accent Wall
Go ahead, paint everything the same color (even the trim)
Full Story
KITCHEN COUNTERTOPS10 Top Backsplashes to Pair With Soapstone Countertops
Simplify your decision-making process by checking out how these styles work with soapstone
Full Story
GARDENING AND LANDSCAPINGChoosing a Deck: Plastic or Wood?
Get the pros and cons of wood, plastic, composite and more decking materials, plus a basic price comparison
Full Story
KITCHEN DESIGN12 Farmhouse Touches That Bring Homeyness to a Kitchen
Shaker cabinetry, country-store-inspired hardware, barn elements or a key piece of art will add homestead appeal to your kitchen
Full Story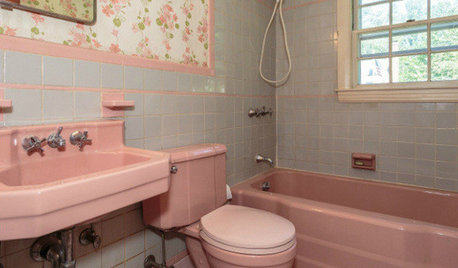
BATHROOM COLOR8 Ways to Spruce Up an Older Bathroom (Without Remodeling)
Mint tiles got you feeling blue? Don’t demolish — distract the eye by updating small details
Full Story
joysplace1