


Craftsman YTS3000 Fuse or Electrical?
lkwisc
12 years ago
Related Stories
REMODELING GUIDESHouzz Tour: Turning a ’50s Ranch Into a Craftsman Bungalow
With a new second story and remodeled rooms, this Maryland home has plenty of space for family and friends
Full Story
GREEN BUILDINGGoing Solar at Home: Solar Panel Basics
Save money on electricity and reduce your carbon footprint by installing photovoltaic panels. This guide will help you get started
Full Story
RUSTIC STYLEAt Home on the Range
Cabin retreats in idyllic locales fill the pages of the new book ‘American Rustic.’ We take you inside one of them
Full Story
SMALL SPACESLife Lessons From 10 Years of Living in 84 Square Feet
Dee Williams was looking for a richer life. She found it by moving into a very tiny house
Full Story
HOUZZ TOURSMy Houzz: Going White and Bright in Montreal
White lacquer and wider doorways help create an airer backdrop for colorful contemporary art in a 1910 Arts and Crafts home
Full Story
HOUZZ TOURSMy Houzz: Joyful, Earth-Conscious Home in Vermont
An architect blends green construction, fine craftsmanship and profuse art in his dream home near Vermont's Lake Champlain
Full Story
MATERIALSAre You a Maker? Show Us Your Favorite Tool or Material
Houzz Call: A tool or material can be a maker’s best friend. We’d like to see your favorite — and what it helps you achieve
Full Story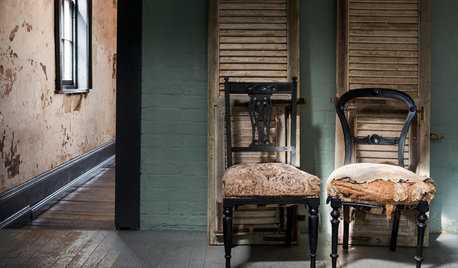
REMODELING GUIDESThe Hidden Problems in Old Houses
Before snatching up an old home, get to know what you’re in for by understanding the potential horrors that lurk below the surface
Full Story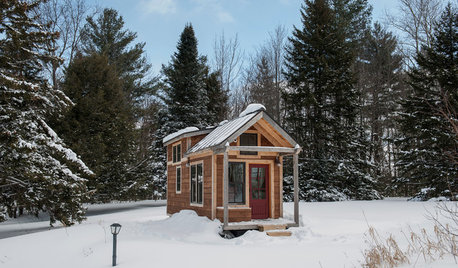
TINY HOUSESHouzz Tour: A Custom-Made Tiny House for Skiing and Hiking
Ethan Waldman quit his job, left his large house and spent $42,000 to build a 200-square-foot home that costs him $100 a month to live in
Full Story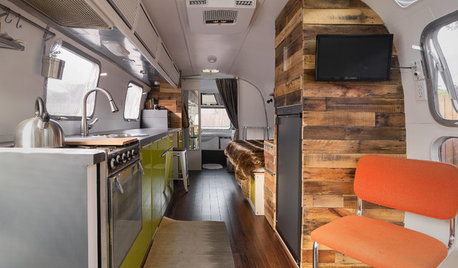
HOUZZ TV FAVORITESMy Houzz: New Life and Style for a 1976 Airstream
The owner of this 1976 Ambassador Airstream embraces flexible furniture and clean, organized spaces
Full StorySponsored
mownie
lkwiscOriginal Author
Related Professionals
New Bedford Landscape Architects & Landscape Designers · Carson Landscape Architects & Landscape Designers · Forest Acres Landscape Architects & Landscape Designers · Mooresville Landscape Contractors · Byram Landscape Contractors · Coram Landscape Contractors · Golden Gate Landscape Contractors · Melrose Landscape Contractors · Streamwood Landscape Contractors · West Orange Landscape Contractors · Hawaiian Gardens Landscape Contractors · Brookfield Window Contractors · Granite City Window Contractors · Greenburgh Window Contractors · Tamiami Window Contractorsmownie
rwollum_yahoo_com
mownie
lkwiscOriginal Author
mownie