

Craftsman 917.256611 Won't Start
LestatVIl
11 years ago
Sort by:Oldest
Comments (13)
Related Stories
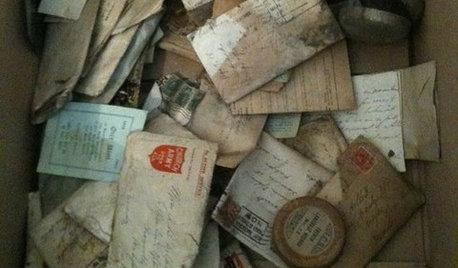
REMODELING GUIDESYou Won't Believe What These Homeowners Found in Their Walls
From the banal to the downright bizarre, these uncovered artifacts may get you wondering what may be hidden in your own home
Full Story
HOUZZ TOURSHouzz Tour: New Love and a Fresh Start in a Midcentury Ranch House
A Nashville couple, both interior designers, fall for a neglected 1960 home. Their renovation story has a happy ending
Full Story
CONTRACTOR TIPS10 Things to Discuss With Your Contractor Before Work Starts
Have a meeting a week before hammers and shovels fly to make sure everyone’s on the same page
Full Story
HOUZZ TOURSMy Houzz: It All Started With a Rug
One floor covering from Kazakhstan inspires a whole global vibe in a traveler’s San Francisco apartment
Full Story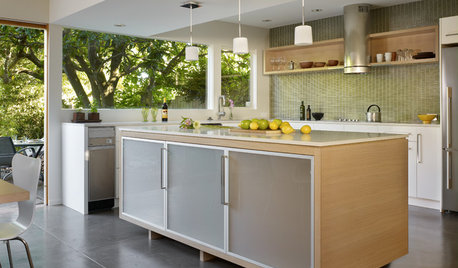
REMODELING GUIDESWhat to Consider Before Starting Construction
Reduce building hassles by learning how to vet general contractors and compare bids
Full Story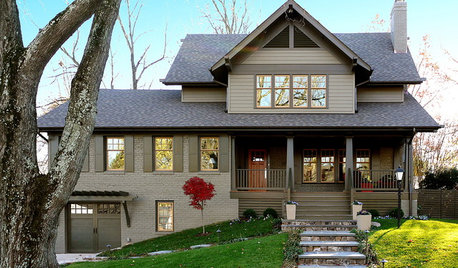
REMODELING GUIDESHouzz Tour: Turning a ’50s Ranch Into a Craftsman Bungalow
With a new second story and remodeled rooms, this Maryland home has plenty of space for family and friends
Full Story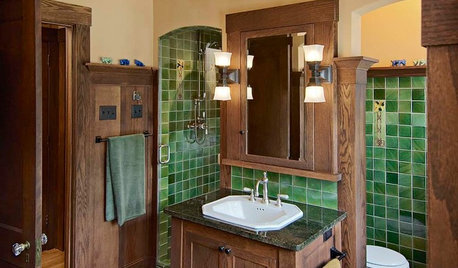
BATHROOM DESIGN7 Elements of Craftsman-Style Bathrooms
If you like a handmade look and simple materials, this style is tailor made for your bath
Full Story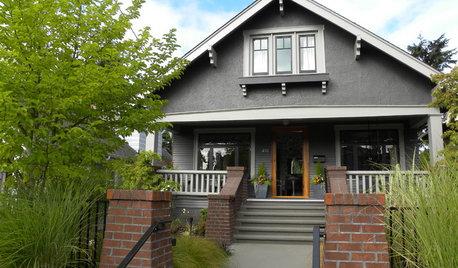
ARCHITECTURERoots of Style: See What Defines a Craftsman Home
Charming features and intimate proportions have made Craftsman houses an American favorite. See their common details and variations
Full Story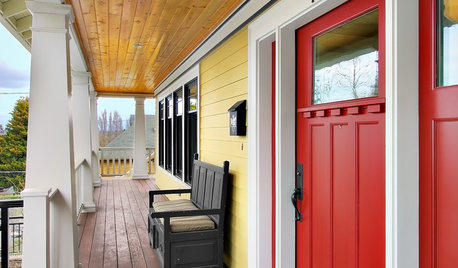
CRAFTSMAN DESIGNCraftsman Front Doors Make an Entrance
For curb appeal, warmth and natural light, consider a classic Craftsman-style door for your home's entryway
Full Story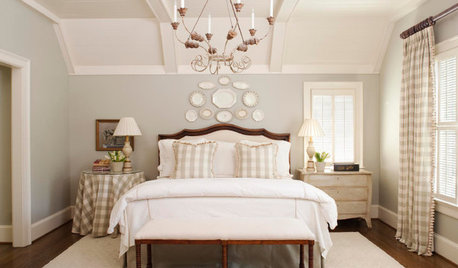
BEDROOMSThe Cure for Houzz Envy: Master Bedroom Touches Anyone Can Do
Make your bedroom a serene dream with easy moves that won’t give your bank account nightmares
Full Story
bill_kapaun
LestatVIlOriginal Author
Related Professionals
Windham Landscape Architects & Landscape Designers · Ashland Landscape Architects & Landscape Designers · Baltimore Landscape Architects & Landscape Designers · La Marque Landscape Architects & Landscape Designers · Lakewood Landscape Architects & Landscape Designers · Montgomeryville Landscape Architects & Landscape Designers · Hawaii Landscape Contractors · Las Vegas Landscape Contractors · Norristown Landscape Contractors · Soddy Daisy Landscape Contractors · Merrifield Landscape Contractors · Jacksonville Window Contractors · Bluffton Window Contractors · Damascus Window Contractors · Roselle Park Window Contractorsbill_kapaun
mownie
bill_kapaun
LestatVIlOriginal Author
bill_kapaun
LestatVIlOriginal Author
bill_kapaun
rustyj14
LestatVIlOriginal Author
mownie
bill_kapaun