


Crank or cam rubbing?
cedarghost
12 years ago
Related Stories
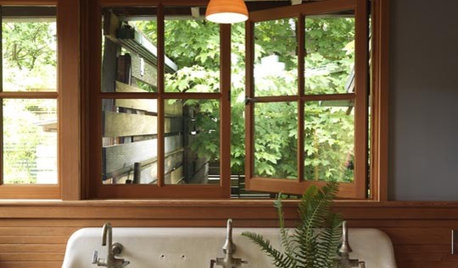
REMODELING GUIDESRenovation Detail: The Casement Window
If heaving open your windows leaves you winded, let the cranks or cam handles of casement windows bring in an easier breeze
Full Story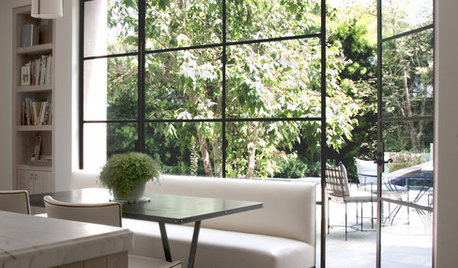
HOUSEKEEPINGThe Best Way to Get Your Windows Spotlessly Clean
Learn the pros’ tips and tricks for cleaning windows and getting them streak-free
Full Story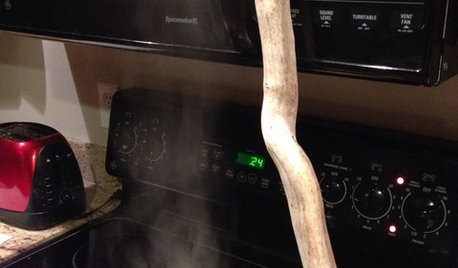
LIFEHouzz Call: Show Us Your Nutty Home Fixes
If you've masterminded a solution — silly or ingenious — to a home issue, we want to know
Full Story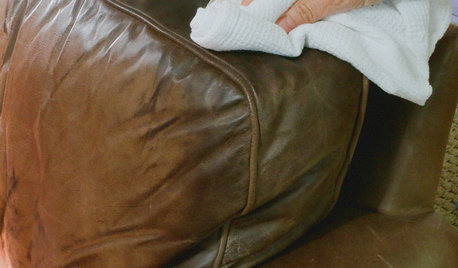
Common Household Cleansers for Leather Upholstery
Clean and condition your leather sofa, chairs, handbags and more with ingredients already in your cabinets
Full Story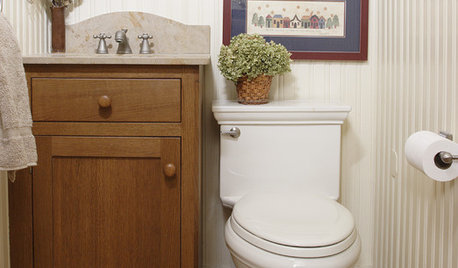
HOUSEKEEPINGWhat's That Sound? 9 Home Noises and How to Fix Them
Bumps and thumps might be driving you crazy, but they also might mean big trouble. We give you the lowdown and which pro to call for help
Full Story
KITCHEN DESIGNKitchen Counters: Stunning, Easy-Care Engineered Quartz
There's a lot to like about this durable blend of quartz and resin for kitchen countertops, and the downsides are minimal
Full Story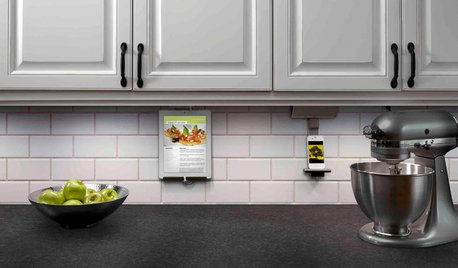
KITCHEN DESIGNHouzz Call: What’s Cooking in Your Kitchen?
Most of us turn to recipes, videos and culinary shows when we cook. Where do you set your cookbook, tablet or TV screen?
Full Story
FUN HOUZZWhat You Do When There’s No One Around
Ice cream binges, air guitar concerts, napping in the closet. Houzzers worldwide disclose their quirky secret indulgences
Full Story
HOUSEKEEPINGTo Do: Choose Your Weekend Project
You know the one — it's been hanging over your head for months. Just pick one from your list to do now, and enjoy the change
Full Story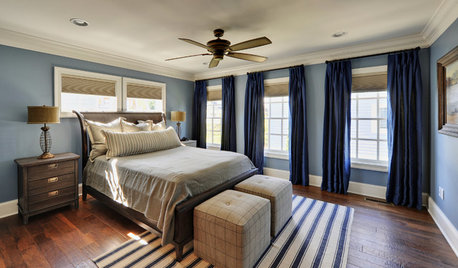
COLORBedroom Color: The Secret to More Sex and More Sleep
Look to surprising revelations about bedroom wall colors to get more of what you want
Full Story
walt2002
cedarghostOriginal Author
Related Professionals
Wrentham Landscape Architects & Landscape Designers · Blue Springs Landscape Contractors · Camp Verde Landscape Contractors · Clark Landscape Contractors · Goodlettsville Landscape Contractors · North Richland Hills Landscape Contractors · Quincy Landscape Contractors · Tewksbury Landscape Contractors · Thornton Landscape Contractors · Whitehall Landscape Contractors · Deltona Window Contractors · Detroit Window Contractors · Newton Window Contractors · Rio Linda Window Contractors · Sacramento Window Contractorsatschirner
cedarghostOriginal Author
walt2002
rustyj14
cedarghostOriginal Author
briggsgalaxieman
briggsgalaxieman
cedarghostOriginal Author
cedarghostOriginal Author
mownie
cedarghostOriginal Author
cedarghostOriginal Author
rustyj14
cedarghostOriginal Author