


First House - First Problem, need thoughts!
strong_back
13 years ago
Sort by:Oldest
Comments (6)
Related Stories
MOST POPULARFirst Things First: How to Prioritize Home Projects
What to do when you’re contemplating home improvements after a move and you don't know where to begin
Full Story

MOVINGYour First Home: Beautiful Basics and Multitaskers for Every Room
Here’s what to choose and what to avoid when outfitting a new house
Full Story
ARCHITECTUREGet a Perfectly Built Home the First Time Around
Yes, you can have a new build you’ll love right off the bat. Consider learning about yourself a bonus
Full Story
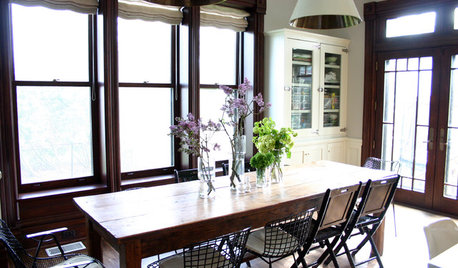
LIVING ROOMSRoom of the Day: Redone Living Room Makes a Bright First Impression
A space everyone used to avoid now charms with welcoming comfort and a crisp new look
Full StoryREMODELING GUIDESConsidering a Fixer-Upper? 15 Questions to Ask First
Learn about the hidden costs and treasures of older homes to avoid budget surprises and accidentally tossing valuable features
Full Story
HOME INNOVATIONSConsidering Renting to Vacationers? Read This First
More people are redesigning their homes for the short-term-rental boom. Here are 3 examples — and what to consider before joining in
Full Story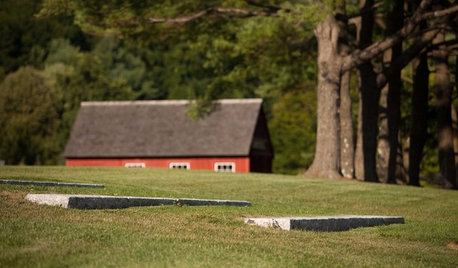
LANDSCAPE DESIGNProblem Solving With the Pros: Rustic Simplicity in a Country Garden
Editing thoughtfully and adding some magic result in a timeless weekend retreat
Full Story
MOST POPULAROrganizing? Don’t Forget the Essential First Step
Simplify the process of getting your home in order by taking it one step at a time. Here’s how to get on the right path
Full Story
KITCHEN DESIGNHouzz Call: Tell Us About Your First Kitchen
Great or godforsaken? Ragtag or refined? We want to hear about your younger self’s cooking space
Full Story
canguy
strong_backOriginal Author
Related Professionals
Suffern Landscape Architects & Landscape Designers · Arlington Landscape Contractors · Milford Landscape Contractors · Stamford Landscape Contractors · Canton Landscape Contractors · Cicero Landscape Contractors · Cudahy Landscape Contractors · La Vista Landscape Contractors · Lewisville Landscape Contractors · Pueblo West Landscape Contractors · Wayland Landscape Contractors · Shenandoah Landscape Contractors · Brookfield Window Contractors · Muttontown Window Contractors · River Forest Window Contractorsjavert
mownie
popcornhill
brighton