


B & S 14hp OHV leaking oil underneath engine
mac3
11 years ago
Related Stories
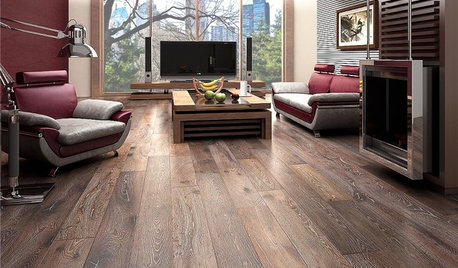
REMODELING GUIDESWhen to Use Engineered Wood Floors
See why an engineered wood floor could be your best choice (and no one will know but you)
Full Story
LANDSCAPE DESIGNEasy Ways to Manage Stormwater for Lower Bills and a Healthier Earth
Send cleaner runoff into local waterways and spend less on yard irrigation with these simple landscaping approaches
Full Story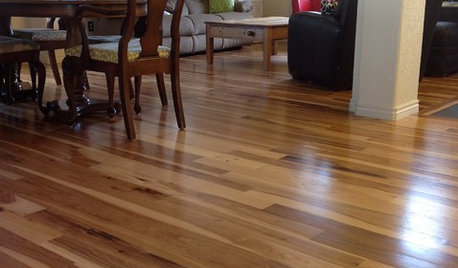
MATERIALSWhat to Ask Before Choosing a Hardwood Floor
We give you the details on cost, installation, wood varieties and more to help you pick the right hardwood flooring
Full Story
REMODELING GUIDESLaminate Floors: Get the Look of Wood (and More) for Less
See what goes into laminate flooring and why you just might want to choose it
Full Story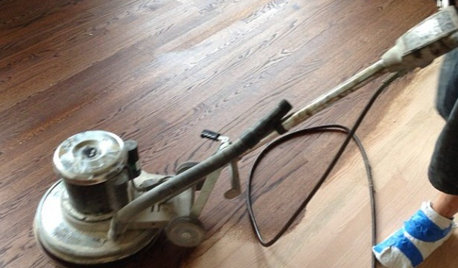
GREAT HOME PROJECTSWhat to Know Before Refinishing Your Floors
Learn costs and other important details about renewing a hardwood floor — and the one mistake you should avoid
Full Story
MOVINGHome-Buying Checklist: 20 Things to Consider Beyond the Inspection
Quality of life is just as important as construction quality. Learn what to look for at open houses to ensure comfort in your new home
Full Story
KITCHEN DESIGN16 Practical Ideas to Borrow From Professional Kitchens
Restaurant kitchens are designed to function efficiently and safely. Why not adopt some of their tricks in your own home?
Full Story
REMODELING GUIDESThe Case for Linoleum and Vinyl Floors
Have pets, kids and a tight budget? Easy-care resilient floors may be the choice for you
Full Story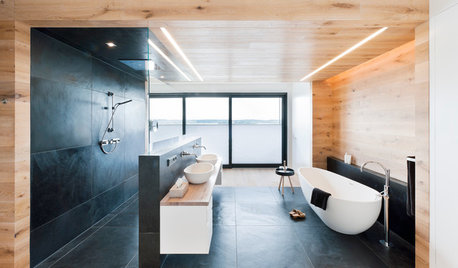
BATHROOM DESIGNDream Spaces: Spa-Worthy Showers to Refresh the Senses
In these fantasy baths, open designs let in natural light and views, and intriguing materials create drama
Full Story
REMODELING GUIDESThe Hidden Problems in Old Houses
Before snatching up an old home, get to know what you’re in for by understanding the potential horrors that lurk below the surface
Full StorySponsored
mownie
mac3Original Author
Related Professionals
Brentwood Landscape Architects & Landscape Designers · La Marque Landscape Architects & Landscape Designers · Andover Landscape Contractors · Brandon Landscape Contractors · Emmaus Landscape Contractors · Galveston Landscape Contractors · Hannibal Landscape Contractors · Inglewood Landscape Contractors · Oak Harbor Landscape Contractors · Rochester Landscape Contractors · Woodland Landscape Contractors · Chicago Ridge Landscape Contractors · Oxon Hill Landscape Contractors · Clearfield Landscape Contractors · Vashon Window Contractorsmac3Original Author
mac3Original Author
rustyj14
mac3Original Author
mownie
mac3Original Author
mac3Original Author
mownie
rustyj14
mac3Original Author
mownie
mac3Original Author
mac3Original Author
mownie
neiselliott
mownie