


Simplicity Regent Won't Start
rozman
13 years ago
Sort by:Oldest
Comments (10)
Related Stories

LIFEYou Said It: ‘Put It Back’ If It Won’t Help Your House, and More Wisdom
Highlights from the week include stopping clutter from getting past the door, fall planting ideas and a grandfather’s gift of love
Full Story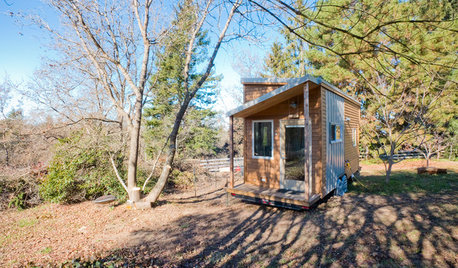
SMALL HOMESHouzz Tour: Rolling With Simplicity in a Tiny House on Wheels
Just 240 square feet, this California home encourages efficient living — but there’s still room for yoga
Full Story
HOUZZ TOURSHouzz Tour: Picture-Perfect Simplicity
It’s like camping out in a catalog sometimes at this classic farmhouse — Pottery Barn and other retailers love it for photo shoots
Full Story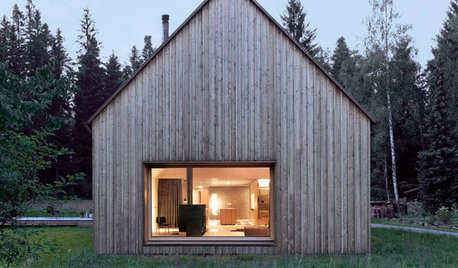
MOST POPULARA Few Words on the Power of Simplicity
An architect considers a pared-down approach to modern home design
Full Story
HOMES AROUND THE WORLDMy Houzz: A Minimalist Home Finds Beauty in Simplicity
A couple of furniture and textile designers bring their signature style home
Full Story
DECORATING GUIDESDecorating 101: How to Start a Decorating Project
Before you grab that first paint chip, figure out your needs, your decorating style and what to get rid of
Full Story
HOUZZ TOURSMy Houzz: It All Started With a Rug
One floor covering from Kazakhstan inspires a whole global vibe in a traveler’s San Francisco apartment
Full Story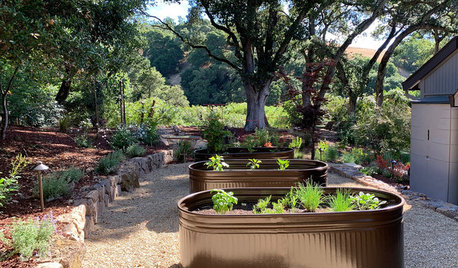
FARM YOUR YARD6 Things to Know Before You Start Growing Your Own Food
It takes time and practice, but growing edibles in the suburbs or city is possible with smart prep and patience
Full Story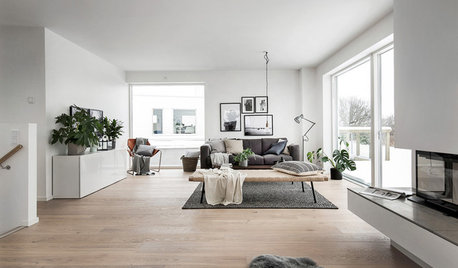
DECORATING GUIDESIsn’t It Good, Nordic Wood: The Appeal of Pale Floors
From silvery ash to honey blonde or chalk white, light-toned floors hold the key to the pared-back simplicity of Scandinavian style
Full Story
HOMES AROUND THE WORLDMy Houzz: Small-Space Living on a Barge Awash With Smart Ideas
This newly built barge moored on London’s Regent’s Canal brims with clever designs and luxe touches, proving small can be very beautiful
Full StorySponsored
rustyj14
rozmanOriginal Author
Related Professionals
Citrus Heights Landscape Architects & Landscape Designers · Port Royal Landscape Architects & Landscape Designers · Brookside Landscape Contractors · Aberdeen Landscape Contractors · Clark Landscape Contractors · Fair Lawn Landscape Contractors · Holtsville Landscape Contractors · Long Beach Landscape Contractors · Parkland Landscape Contractors · Wethersfield Landscape Contractors · Selma Landscape Contractors · Cincinnati Window Contractors · Coral Terrace Window Contractors · Watsonville Window Contractors · West Springfield Window Contractorsmownie
rozmanOriginal Author
mownie
rozmanOriginal Author
rozmanOriginal Author
mownie
rozmanOriginal Author
mownie