


Kawasaki FB460V 12.5 hp Won't Start Weak Spark
bertd
10 years ago
Related Stories
DECLUTTERING5 Ways to Jump-Start a Whole-House Decluttering Effort
If the piles of paperwork and jampacked closets have you feeling like a deer in the headlights, take a deep breath and a baby step
Full Story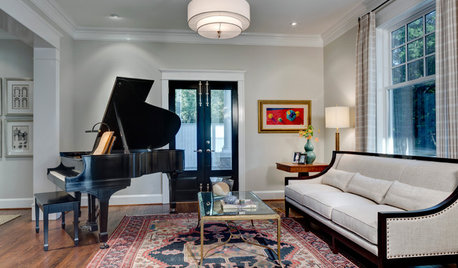
WORKING WITH PROS12 Questions Your Interior Designer Should Ask You
The best decorators aren’t dictators — and they’re not mind readers either. To understand your tastes, they need this essential info
Full Story
FUN HOUZZDon’t Be a Stickybeak — and Other Home-Related Lingo From Abroad
Need to hire a contractor or buy a certain piece of furniture in the U.K. or Australia? Keep this guide at hand
Full Story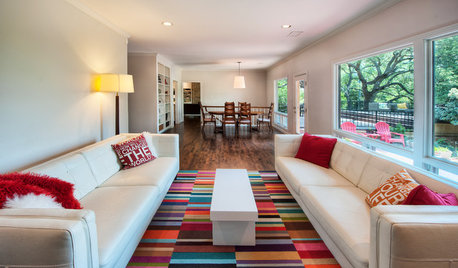
PATTERN17 Gorgeous Ways to Work In a Patterned Area Rug
Add spark underfoot and pull a room together all around with a patterned rug as bold or subtle as you please
Full Story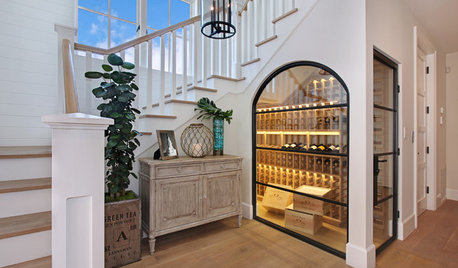
LIGHTINGWhat to Know About Switching to LED Lightbulbs
If you’ve been thinking about changing over to LEDs but aren't sure how to do it and which to buy, this story is for you
Full Story
HOUZZ TOURSHouzz Tour: Creativity Captivates in a New Jersey Family Haven
Handmade treasures arranged artfully and with love fill a DIY-savvy blogger's bright and cheery home
Full Story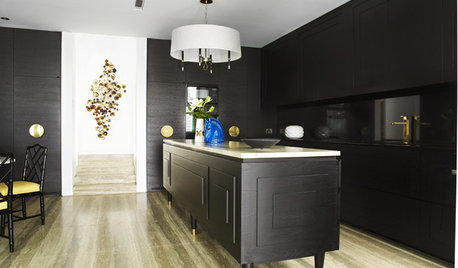
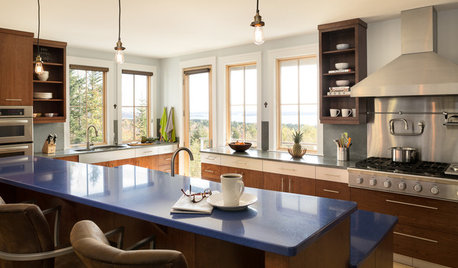
MOST POPULARTrend Watch: 13 Kitchen Looks Expected to Be Big in 2015
3 designers share their thoughts on what looks, finishes and design elements will be on trend in the year ahead
Full Story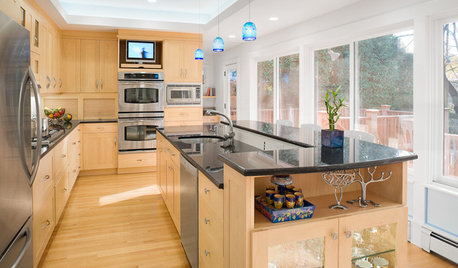
UNIVERSAL DESIGNHow to Light a Kitchen for Older Eyes and Better Beauty
Include the right kinds of light in your kitchen's universal design plan to make it more workable and visually pleasing for all
Full Story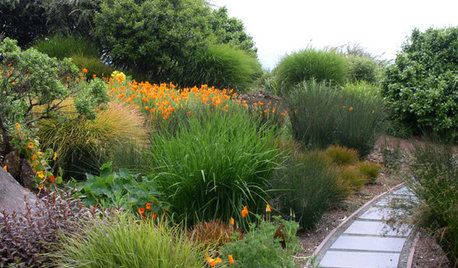
GARDENING GUIDESNew Ways to Think About All That Mulch in the Garden
Before you go making a mountain out of a mulch hill, learn the facts about what your plants and soil really want
Full Story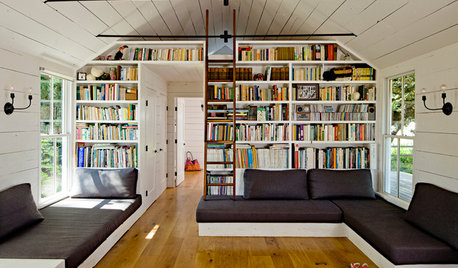
LIFE'Not My Precious Books!' — Pain-Free Ways to Declutter Your Library
Have your books and neatness too, with these ideas for paring down and straightening up a beloved collection
Full Story
tomplum
bertdOriginal Author
mownie
bertdOriginal Author
mownie
bertdOriginal Author
mownie
tomplum
bertdOriginal Author
bertdOriginal Author
bertdOriginal Author
tomplum
bertdOriginal Author
tomplum
bertdOriginal Author
bertdOriginal Author
tomplum
bertdOriginal Author
bertdOriginal Author
tomplum
bertdOriginal Author
bertdOriginal Author
tomplum
bertdOriginal Author
tomplum
bertdOriginal Author
tomplum
Mike Brandenburg
Marion Patton
tomplum