


Rain Bird SMRT-Y Moisture Sensor
cdmanoise
9 years ago
Related Stories

GARDENING GUIDES8 Native Shrubs for Year-Round Bird Feeding
It’s not just about berries. These plants provide insects for birds and seasonal interest for gardeners
Full Story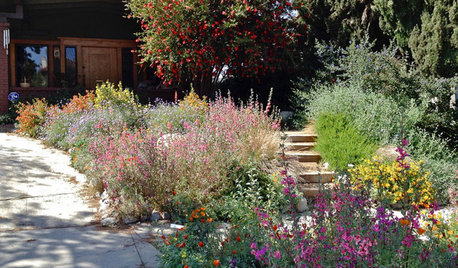
INSPIRING GARDENSNative Plants Bring 10 Southern California Front-Yard Gardens to Life
Rare plants, rain gardens and wildlife habitats are just a few of the features showcased on the 2016 Theodore Payne Native Plant Garden Tour
Full Story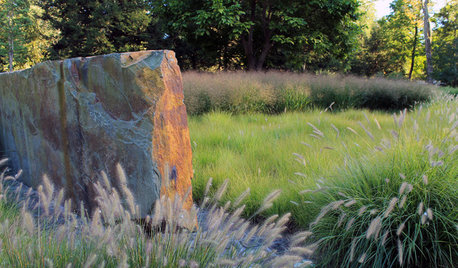
EARTH DAYThe Case for Losing the Traditional Lawn
Work less, help the environment and foster connections by just saying no to typical turf
Full Story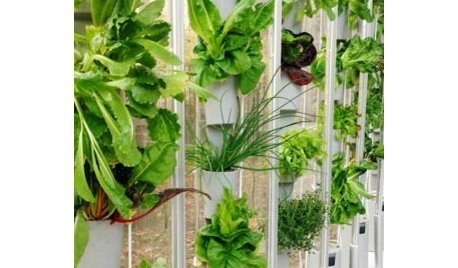
PRODUCT PICKSGuest Picks: High-Tech Plant Helpers
Hydroponics, monitoring systems, even an electric pollinator ... these gadgets and services keep your greenery growing strong
Full Story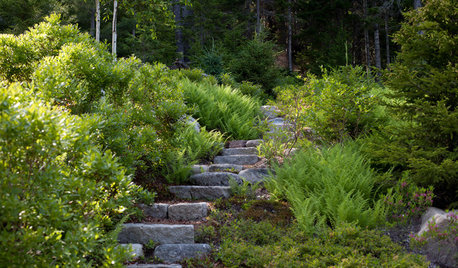
GARDENING GUIDESGreat Design Plant: Grow Blueberries for Their Fruit and More
Eastern gardeners should consider growing blueberry plants for their delicious fruits, bee-friendly spring blooms and brilliant fall foliage
Full Story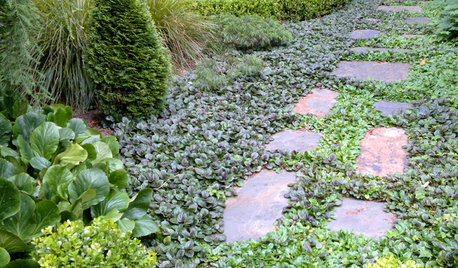
GROUND COVERSGround Force: 10 Top Ground Covers for Your Garden
Protect your soil from weeds and drought this summer with a living mulch of ground covers
Full Story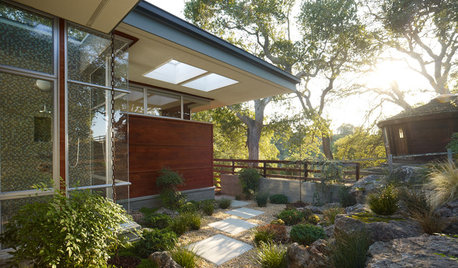
LANDSCAPE DESIGNSoak It Up: How to Manage Stormwater in Your Landscape
Permeable paving, gravel beds and planted areas in your yard can absorb and cleanse stormwater runoff. Here's how it works
Full Story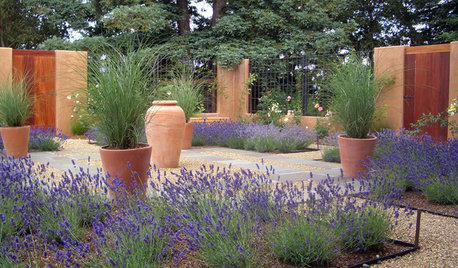
SAVING WATERXeriscape Gardens: How to Get a Beautiful Landscape With Less Water
Conserve water and make gardening much easier with the xeriscape approach’s 7 principles
Full Story
FALL GARDENING7 Reasons Not to Clean Up Your Fall Garden
Before you pluck and rake, consider wildlife, the health of your plants and your own right to relax
Full Story
SAVING WATERHouzz Call: Are You Letting Go of Your Lawn?
Many facing a drought are swapping turf for less thirsty plantings. If you’re one of them, we’d like to hear about it
Full StoryMore Discussions
irrigirl
cdmanoiseOriginal Author
irrigirl
irrigirl
waterslaver