


New Instructables Posting-Prepping 2 Litre Bottles
Monte
14 years ago
Sort by:Oldest
Comments (21)
Related Stories
MONTHLY HOME CHECKLISTSYour Checklist for Quick Houseguest Prep
Follow these steps to get your home ready in a hurry for overnight visitors
Full Story
GARDENING AND LANDSCAPINGGet It Done: Clean and Prep the Patio
Haul out the hose and bid cobwebs farewell. It's time to renew your outdoor room for relaxing, dining and entertaining
Full Story
ENTERTAININGGenius Home Prep: A Guest Room in a Box
No dedicated guest room? Make hosting overnighters easier by keeping the essentials in one place
Full Story
KITCHEN DESIGNDouble Islands Put Pep in Kitchen Prep
With all that extra space for slicing and dicing, dual islands make even unsavory kitchen tasks palatable
Full Story
HOLIDAYSYour Guide to Stress-Free Thanksgiving Prep
We break down shopping, cleaning and cooking into manageable bites so you can actually enjoy yourself
Full Story
ENTERTAININGHoliday Party Prep: Plan Your Table Settings
Do a dry run with dinnerware, table decorations and the buffet setup now to avoid surprises and stress later
Full Story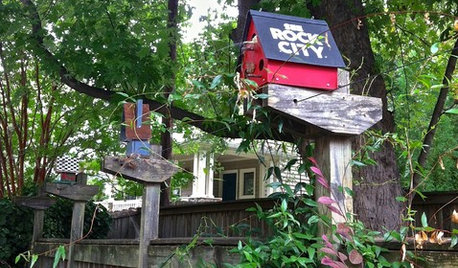
FUN HOUZZLocal Color: Souvenir Birdhouses Flock to Southern Homes
Written instructions come with these charming tiny homes — not for installing but for what to see
Full Story
COFFEE WITH AN ARCHITECTHow to Design (and Live) With Meaning
Design and architecture have the power to make the world a better place. These 10 instructions can help
Full Story
WOODWORKINGHow to Clean and Care for Your Butcher Block
Keep butcher block counters and boards looking sharp as a knife — and sanitized for safe food prep — with this advice from a pro woodworker
Full Story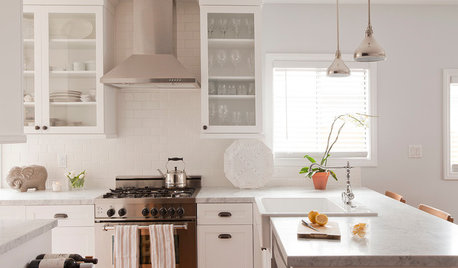
REMODELING GUIDES10 Things to Do Before the Renovation Begins
Prep and plan with this insight in hand to make your home remodeling project run more smoothly
Full StorySponsored
kqcrna
gardencrazy
Related Professionals
Tempe Landscape Architects & Landscape Designers · Bellflower Landscape Architects & Landscape Designers · Ferndale Landscape Architects & Landscape Designers · Glendora Landscape Architects & Landscape Designers · Hershey Landscape Architects & Landscape Designers · Wakefield Landscape Contractors · Cornelius Landscape Contractors · Mequon Landscape Contractors · Mount Sinai Landscape Contractors · South Lake Tahoe Landscape Contractors · Tehachapi Landscape Contractors · View Park-Windsor Hills Landscape Contractors · Waipahu Landscape Contractors · Wayland Landscape Contractors · Whitehall Landscape ContractorsMonteOriginal Author
pitimpinai
MonteOriginal Author
aliska12000
MonteOriginal Author
renagirl-2008
MonteOriginal Author
kqcrna
quilt_mommy
rolacoy
pippi21
plays_in_dirt_dirt
MonteOriginal Author
pippi21
terrene
rolacoy
topie
Carol love_the_yard (Zone 9A Jacksonville, FL)
mnwsgal