


'Instant beds'
donn_
18 years ago
Related Stories

DINING ROOMS5 Instant Dining Tables
Company coming? These console tables expand into a party-sized dinner table
Full Story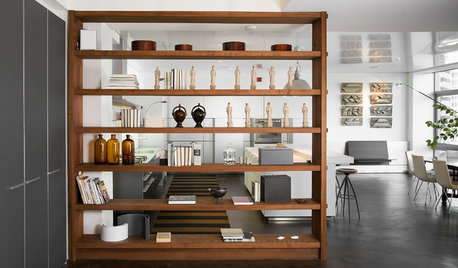
MORE ROOMSInstant Living Spaces
Create Chic New Activity Zones with Shelves, Screens, Glass and Furniture
Full Story
BOLD COLORInstant Fix: Refresh Your Furniture With Some Punchy Paint
Give old furniture new life with a bold color, pattern or idyllic scene
Full Story
DECORATING GUIDESInstant Décor: Beautiful Book Covers
Turn your reads into style statements for bookcase, tabletop and desk
Full Story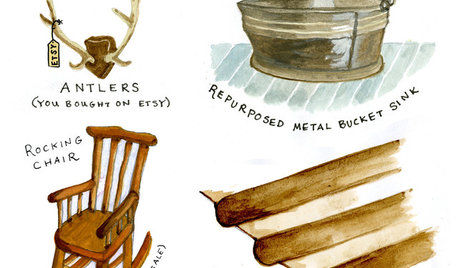
RUSTIC STYLE12 Must-Haves for an Instantly Rustic Home
No need to wait around for just the right hand-me-downs and woodsy finds — with these pieces, you can fake it till you make it
Full Story
DECORATING GUIDESItalian Campaign Beds Show Winning Design
Add style and structure to a room with this perennial design darling, a throwback to the days of military furniture on the move
Full Story
ENTERTAININGTips for Squeezing in More Guest Beds
Put up your overnight guests in comfort and style with these sofa bed, bed and mattress options
Full Story
BEDROOMSRest Easy: Myth Busting for Bedding and Mattresses
We put to bed some of the misconceptions that may be keeping you from a good night's sleep
Full Story
BEDROOMS11 Reasons to Love White Bedding
For easy bedding that makes neutrals sing and accessories pop, look to the white side
Full Story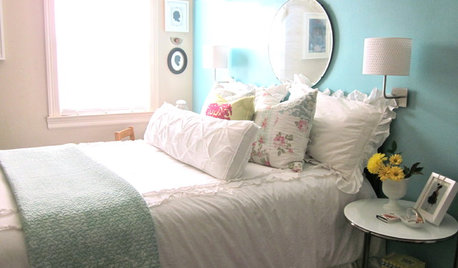
BEDROOMSThe Family Home: Big Beds In Kids' Spaces
Double up on space and style with a bed that's sized for grownups
Full Story
laperouse
donn_Original Author
Related Professionals
Norfolk Landscape Architects & Landscape Designers · Ashburn Landscape Architects & Landscape Designers · Baltimore Landscape Architects & Landscape Designers · Belmont Landscape Architects & Landscape Designers · Canton Landscape Contractors · Beachwood Landscape Contractors · Belvedere Park Landscape Contractors · Fairhope Landscape Contractors · Fridley Landscape Contractors · Miller Place Landscape Contractors · Pacifica Landscape Contractors · Ponte Vedra Beach Landscape Contractors · San Benito Landscape Contractors · Weslaco Landscape Contractors · New Carrollton Landscape Contractorssusan926
deborahz7
donn_Original Author
seedmama
donn_Original Author
seedmama
donn_Original Author
seedmama
hollow_oaks
donn_Original Author
hollow_oaks
donn_Original Author
deborahz7
mmqchdygg
larry_c
laperouse
donn_Original Author
wish2okc
mmqchdygg
penny1947
donn_Original Author
laperouse
donn_Original Author
wish2okc
gardnpondr
deborahz7
donn_Original Author
deborahz7
donn_Original Author
deborahz7
tosser
kek19
binkin
seedmama
zengeos
dorisl
spartangardener
seedmama
grannybrug
dirtysc8
nanmol
kathy_2008
zengeos
zengeos
ladygladys
silverwind
plant-one-on-me
dowbright