


winter sown Larkspur & Many Thanks
Connie Kru
14 years ago
Sort by:Oldest
Comments (18)
Related Stories

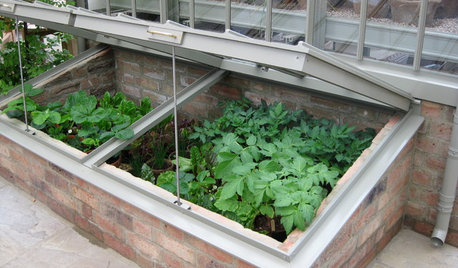
WINTER GARDENINGExtend Your Growing Season With a Cold Frame in the Garden
If the sun's shining, it might be time to sow seeds under glass to transplant or harvest
Full Story
GARDENING GUIDESSouthern California Gardener's October Checklist
Get planting happy this month — so many natives, bulbs, cool-season flowers and vegetable crops to choose from, so little time ...
Full Story
GARDENING GUIDESNorthern California Gardener's October Checklist
It's still a great time to plant flowers, vegetables and even bulbs in California gardens this month, thanks to predictably mild weather
Full Story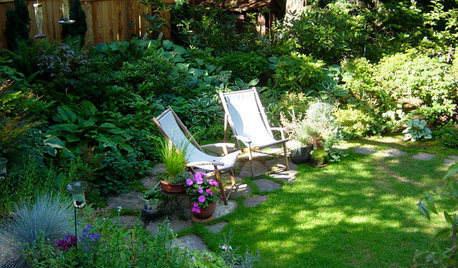
LANDSCAPE DESIGN5 Essential Considerations for a Landscape Design Project
Get your winter garden fix by planning an entirely new landscape or just an update for a single garden stretch
Full Story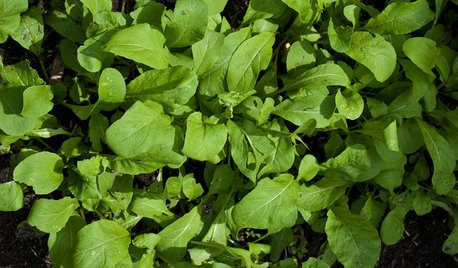
COOL-SEASON CROPSCool-Season Vegetables: How to Grow Salad Greens
From arugula to radicchio, greens have taken a top spot on the table and in fall and winter gardens. See how to start growing them now
Full Story
GARDENING GUIDESGreat Design Plant: Staphylea Trifolia Shines in the Shade
Plant American bladdernut for 3 seasons of interest: spring flowers and striped brown branches and bladder-like seedpods in fall and winter
Full Story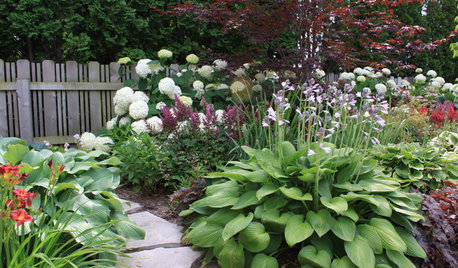
MOST POPULARSpring Gardens Are Blooming — Here’s What to Do in April
Get the guide you need for gardening in your U.S. region, with tasks, climate-appropriate plantings and more
Full Story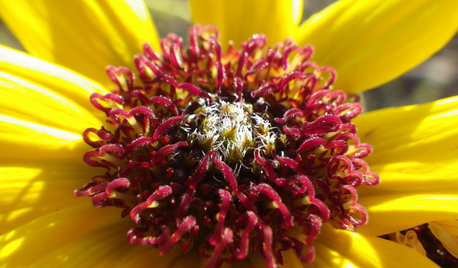
GARDENING GUIDESGreat Design Plant: Helianthus Petiolaris
Short and stunning, prairie sunflower brightens the garden and helps butterflies, birds and more
Full Story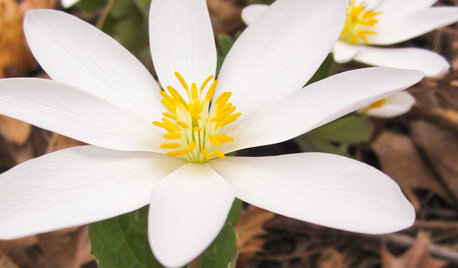
Great Design Plant: Sanguinaria Canadensis Lights the Spring Woodland
Bloodroot’s large, showy white flowers and attractive foliage brighten eastern woodland gardens in early spring
Full Story
kqcrna
vera_eastern_wa
Related Professionals
Deer Park Landscape Architects & Landscape Designers · Ferndale Landscape Architects & Landscape Designers · Marco Island Landscape Architects & Landscape Designers · Salem Landscape Architects & Landscape Designers · Clermont Landscape Contractors · Tempe Landscape Contractors · Aloha Landscape Contractors · Cupertino Landscape Contractors · Dinuba Landscape Contractors · Lynchburg Landscape Contractors · Metairie Landscape Contractors · Secaucus Landscape Contractors · Spring Landscape Contractors · University City Landscape Contractors · Wallingford Landscape Contractorsbusylizzy
Connie KruOriginal Author
busylizzy
carrie630
vera_eastern_wa
kqcrna
northforker
v1rt
trudi_d
mo_girl
Connie KruOriginal Author
mo_girl
Deb Chickenmom
Connie KruOriginal Author
MissMyGardens
mo_girl