


How to Create Seed-Starting Pots From Newspapers
evonnestoryteller
15 years ago
Sort by:Oldest
Comments (17)
Related Stories
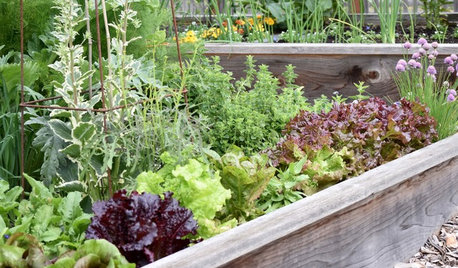
GARDENING GUIDESSeeds or Seedlings? How to Get Your Garden Started
Growing delicious herbs and vegetables starts with knowing your goals and when you want to plant
Full Story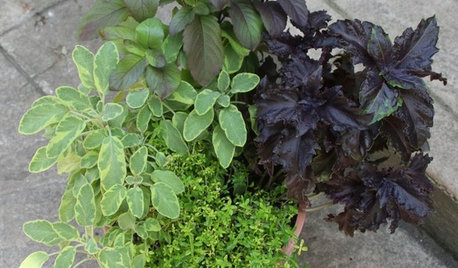
CONTAINER GARDENS8 Easy Container Plants to Grow From Seed
Get beautiful blooms and herbs in summer by starting these choice garden picks from seed in spring
Full Story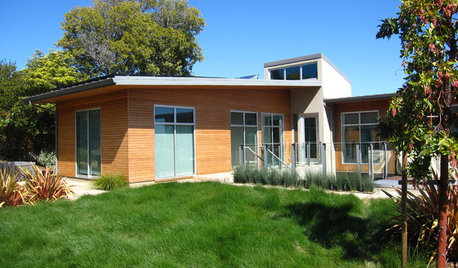
GARDENING GUIDESHow to Plant a New Lawn From Seed
Choose from more grass varieties and save money over sod by starting your lawn from seed
Full Story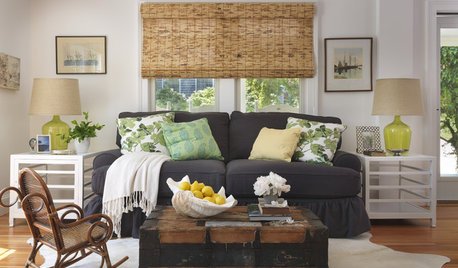
DECORATING GUIDESHow to Decorate When You're Starting Out or Starting Over
No need to feel overwhelmed. Our step-by-step decorating guide can help you put together a home look you'll love
Full Story
GARDENING FOR BUTTERFLIESA Quick-Start Guide to Bird-Watching for Fun and Learning
Set out some seed and grab your field guide. Bird-watching is an easy, entertaining and educational activity for the whole family
Full Story
FARM YOUR YARD6 Things to Know Before You Start Growing Your Own Food
It takes time and practice, but growing edibles in the suburbs or city is possible with smart prep and patience
Full Story
KITCHEN DESIGNCreate Your Own Checklist for a Well-Stocked Kitchen
Personalize the kitchen with your own must-haves from our list of top cooking tools, small appliances, pots, pans and more
Full Story
GARDENING GUIDES10 Tips to Start a Garden — Can-Do Ideas for Beginners
Green up your landscape even if you're short on time, money and knowledge, with these manageable steps for first-time gardeners
Full Story
MOST POPULARHow to Start a Cool-Season Vegetable Garden
Late summer and late winter are good times to plan and plant cool-season crops like salad greens, spinach, beets, carrots and peas
Full StorySponsored
token28001
tiffy_z5_6_can
Related Professionals
Surprise Landscape Architects & Landscape Designers · Fitchburg Landscape Architects & Landscape Designers · Manhattan Beach Landscape Architects & Landscape Designers · Signal Hill Landscape Architects & Landscape Designers · Aurora Landscape Contractors · Waterbury Landscape Contractors · Brookside Landscape Contractors · Brookfield Landscape Contractors · Davidson Landscape Contractors · Emmaus Landscape Contractors · Framingham Landscape Contractors · Northport Landscape Contractors · Oak Harbor Landscape Contractors · West Haverstraw Landscape Contractors · Palos Heights Landscape Contractorssewobsessed
wantie
evonnestorytellerOriginal Author
token28001
mnwsgal
sewobsessed
mnwsgal
sewobsessed
mulbe
mnwsgal
pitimpinai
Deb Chickenmom
just1morehosta
sewobsessed
shinyalloy_5