


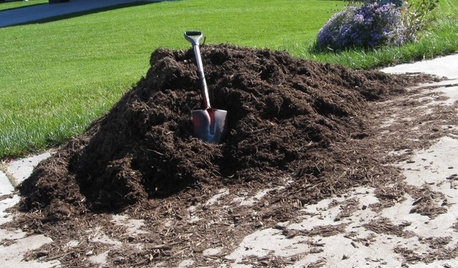
How Do You Wintersow?
loisthegardener_nc7b
13 years ago
Sort by:Oldest
Comments (19)
Related Stories
FRONT YARD IDEASBefore and After: Front Lawn to Prairie Garden
How they did it: Homeowners create a plan, stick to it and keep the neighbors (and wildlife) in mind
Full Story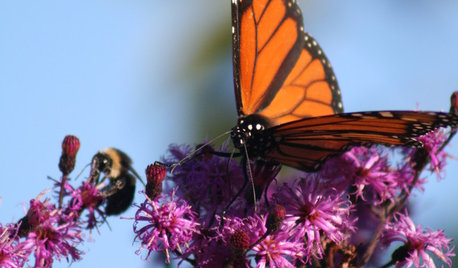
GARDENING GUIDESGreat Design Plant: Ironweed Fills Tall Garden Orders
Height, a slender form and a taste for wet soil make this native perfect for rain garden borders — and beneficial insects love it
Full Story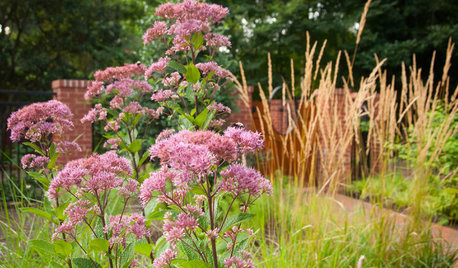
GARDENING GUIDESGreat Design Plant: Eutrochium Maculatum
Sculptural, slightly tropical looking and a boon to wildlife, Spotted Joe Pye Weed is a gotta-have plant in many parts of the U.S.
Full Story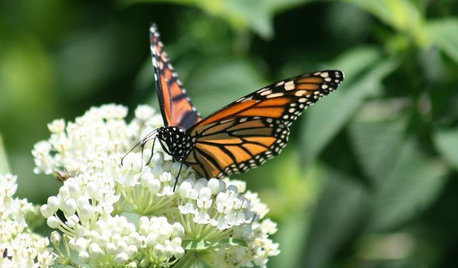
GARDENING FOR BUTTERFLIESBe a Butterfly Savior — Garden for the Monarchs
Keep hope, beauty and kindness alive in the landscape by providing a refuge for these threatened enchanters
Full Story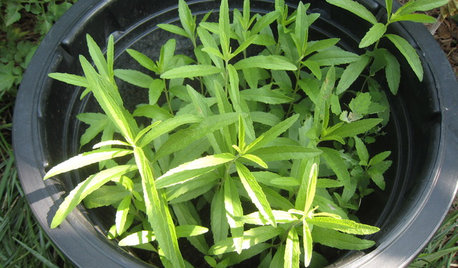
FALL GARDENINGBe Your Own Wildflower Nursery
Gather seeds from your garden in fall, and you'll have a selection of plants for next year — without spending a dime
Full Story
countrycarolyn
gardenweed_z6a
Related Professionals
Ashburn Landscape Architects & Landscape Designers · Ferndale Landscape Architects & Landscape Designers · Graham Landscape Architects & Landscape Designers · New Mexico Landscape Architects & Landscape Designers · Bedford Heights Landscape Contractors · New Berlin Landscape Contractors · Palos Verdes Estates Landscape Contractors · Pleasant Prairie Landscape Contractors · Pleasanton Landscape Contractors · Rio Linda Landscape Contractors · Tewksbury Landscape Contractors · Vashon Landscape Contractors · View Park-Windsor Hills Landscape Contractors · West Orange Landscape Contractors · New Carrollton Landscape Contractorspippi21
kqcrna
loisthegardener_nc7bOriginal Author
just1morehosta
gardenweed_z6a
hibiscusfan -Northwest Ohio
carmen_grower_2007
just1morehosta
mnwsgal
mnwsgal
ishareflowers {Lisa}
pippi21
hibiscusfan -Northwest Ohio
plantmasterm
gardenweed_z6a
gardenunusual
cab321