


Introduction and a question, if you don't mind.
snowdog1
18 years ago
Sort by:Oldest
Comments (7)
Related Stories

GREEN BUILDINGConsidering Concrete Floors? 3 Green-Minded Questions to Ask
Learn what’s in your concrete and about sustainability to make a healthy choice for your home and the earth
Full Story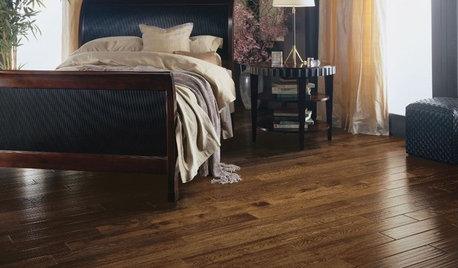
REMODELING GUIDESYour Floor: An Introduction to Solid-Plank Wood Floors
Get the Pros and Cons of Oak, Ash, Pine, Maple and Solid Bamboo
Full Story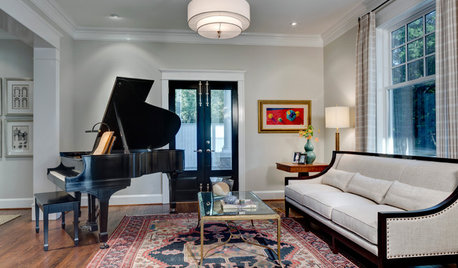
WORKING WITH PROS12 Questions Your Interior Designer Should Ask You
The best decorators aren’t dictators — and they’re not mind readers either. To understand your tastes, they need this essential info
Full Story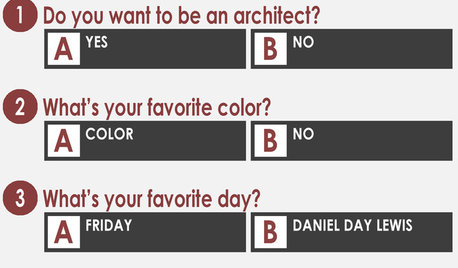
COFFEE WITH AN ARCHITECTA Quiz for Architects in Question
Should you trade in your T-square for a barista tray? Answer a few simple questions to find out
Full Story
Easy Green: 6 Must-Answer Questions Before You Buy
Thinking about buying ecofriendly furniture? For a truly environmentally conscious home, ask yourself these questions first
Full Story
LIGHTING5 Questions to Ask for the Best Room Lighting
Get your overhead, task and accent lighting right for decorative beauty, less eyestrain and a focus exactly where you want
Full Story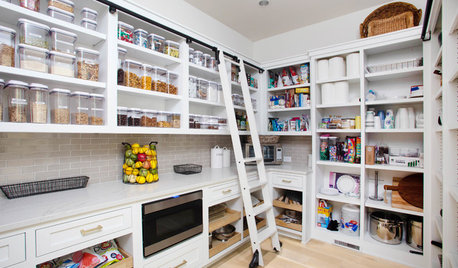
KITCHEN DESIGN9 Questions to Ask When Planning a Kitchen Pantry
Avoid blunders and get the storage space and layout you need by asking these questions before you begin
Full StoryREMODELING GUIDESConsidering a Fixer-Upper? 15 Questions to Ask First
Learn about the hidden costs and treasures of older homes to avoid budget surprises and accidentally tossing valuable features
Full Story
TILE6 Questions to Answer Before You Install Tile Flooring
Considering these things before tackling your floors can get you a better result
Full Story
DECORATING GUIDESWedding Fever: Brit Design on the Mind
Union Jacks and More Fly High as Royal Wedding Draws Near
Full StorySponsored
tango88
gottatufa
Related Professionals
Simpsonville Landscape Architects & Landscape Designers · Palm Springs Landscape Architects & Landscape Designers · Simi Valley Landscape Architects & Landscape Designers · Anderson Landscape Contractors · Salem Landscape Contractors · Wakefield Landscape Contractors · Wilmington Landscape Contractors · Concord Landscape Contractors · Bainbridge Island Landscape Contractors · Chesapeake Ranch Estates Landscape Contractors · Fort Myers Landscape Contractors · Kailua Landscape Contractors · Kearny Landscape Contractors · Lewisville Landscape Contractors · Sun City Center Landscape Contractorssnowdog1Original Author
tango88
gottatufa
puddle_of_mud
snowdog1Original Author