


Sticky doors on the HFGH 8x10
brumor
15 years ago
Sort by:Oldest
Comments (19)
Related Stories

MOST POPULAR5 Ways to Pare Down Your Stuff — Before It Gets in the Door
Want to free up some room around the house? Rethink gift giving, give yourself a shopping mantra and just say, ‘No, thank you’ to freebies
Full Story
BLACKThe Case for Beautiful Black Doors
To-do list: Freshen up the house with crisp black doors, inside and out
Full Story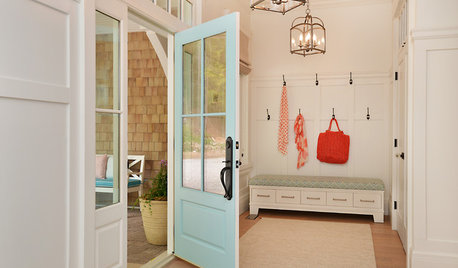
DOORSCould the Inside of Your Front Door Use a New Color?
An entrance interior is an often-overlooked opportunity to bring personality into the home. What will you do with yours?
Full Story
WINDOW TREATMENTSEasy Green: 9 Low-Cost Ways to Insulate Windows and Doors
Block drafts to boost both warmth and energy savings with these inexpensive but effective insulating strategies
Full Story
ORGANIZING21 Tips for Organizing Your Stuff
Restore order at home with these ideas for tidying up cupboards, shelves, doors and more
Full Story
HOUSEKEEPING12 Cleaning Projects That Go a Little Deeper — Naturally
Eucalyptus oil for germy door handles. Baking soda for oven grime. Here are nontoxic solutions for often-overlooked cleaning jobs
Full Story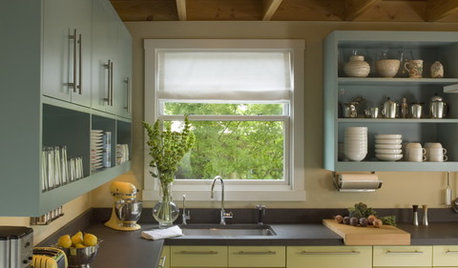
MOST POPULAR8 Great Kitchen Cabinet Color Palettes
Make your kitchen uniquely yours with painted cabinetry. Here's how (and what) to paint them
Full Story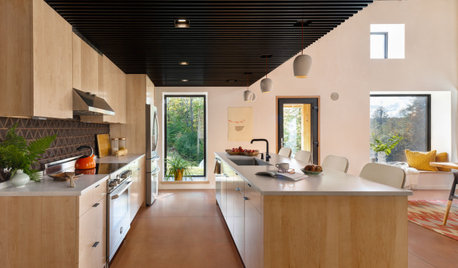
KITCHEN DESIGN10 Tips for Planning a Galley Kitchen
Follow these guidelines to make your galley kitchen layout work better for you
Full Story
STORAGEClosets Too Small? 10 Tips for Finding More Wardrobe Space
With a bit of planning, you can take that tiny closet from crammed to creatively efficient
Full Story
MOST POPULAR8 Life-Enhancing Home Resolutions for the New Year
You can take steps to make this the year your home truly becomes a place of comfort and joy
Full Story
web4deb
brumorOriginal Author
Related Professionals
Arlington Landscape Architects & Landscape Designers · Grand Haven Landscape Architects & Landscape Designers · Tempe Landscape Contractors · Edinburg Landscape Contractors · Mount Kisco Landscape Contractors · Mount Sinai Landscape Contractors · North Canton Landscape Contractors · Northbridge Landscape Contractors · Oak Forest Landscape Contractors · Peachtree City Landscape Contractors · Plainview Landscape Contractors · Ridgewood Landscape Contractors · St. Louis Landscape Contractors · Whittier Landscape Contractors · Green Valley Solar Energy Systemsbirdwidow
rosepedal
brumorOriginal Author
mudhouse_gw
brumorOriginal Author
mudhouse_gw
brumorOriginal Author
mudhouse_gw
brumorOriginal Author
web4deb
brumorOriginal Author
mudhouse_gw
web4deb
mudhouse_gw
brumorOriginal Author
web4deb
brumorOriginal Author